Why Risk Assessment Matters for Adventure Photographers
A quick personal risk assessment — one you can finish in under a minute — is the single most reliable thing you can do to prevent a bad day in the field from becoming a catastrophic one. Write down your top three hazards for the next leg, set one non-negotiable turn-back trigger before you leave, and you’ve already done more than most adventure travelers ever do. The CDC Yellow Book frames risk as probability × consequence × cognitive bias, which is a fancy way of saying: small preparation changes big outcomes. Traveling Portrait, led by travel writer and photographer Justin Frazier, builds this thinking into every workshop and guide it publishes.
Table of Contents
- Why risk assessment matters on every adventure you take
- A printable 60-second risk assessment template you can use right now
- How risk assessment changes when you’re shooting adventure photos
- Essential safety kit and communications for US adventure travelers
- A simple before/during/after emergency plan you can copy
- Red flags that mean you should back out or call a professional
- How long a personal risk assessment takes and what it costs
- Key Takeaways
- Safety first is what keeps the creative work going
- Traveling Portrait’s practical tools for safer adventures
- Useful sources and further reading
Why risk assessment matters on every adventure you take
The core framework is three steps, and you can run through all of them in minutes.
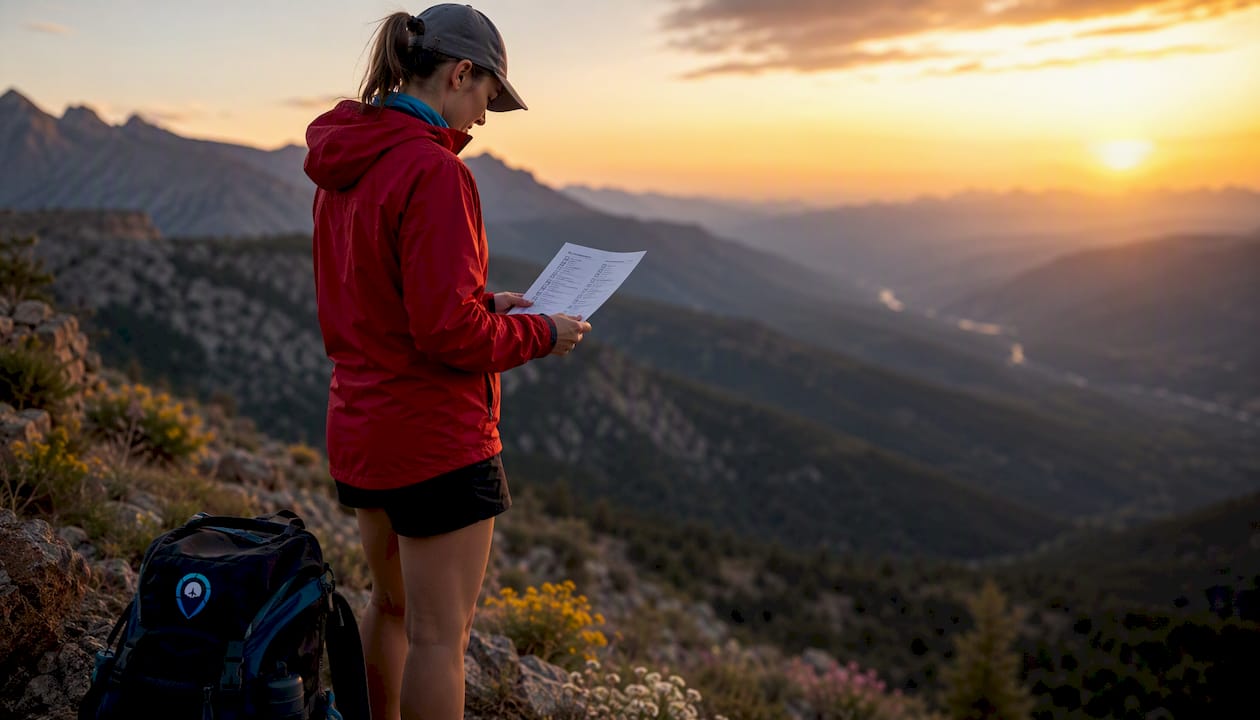
Step 1: Identify hazards. Split them into three buckets: situational (route conditions, weather, terrain), human (your fitness, fatigue, skill level), and environmental (flash flood risk, wildlife, altitude). For a remote river crossing, that means noting current speed, your swimming ability, and the nearest exit point.
Step 2: Assess likelihood and severity. You don’t need a spreadsheet. Just rank each hazard: how likely is it, and how bad if it happens? A low battery on your satellite communicator is highly likely if you forgot to charge it and severe if you’re three days from a trailhead.
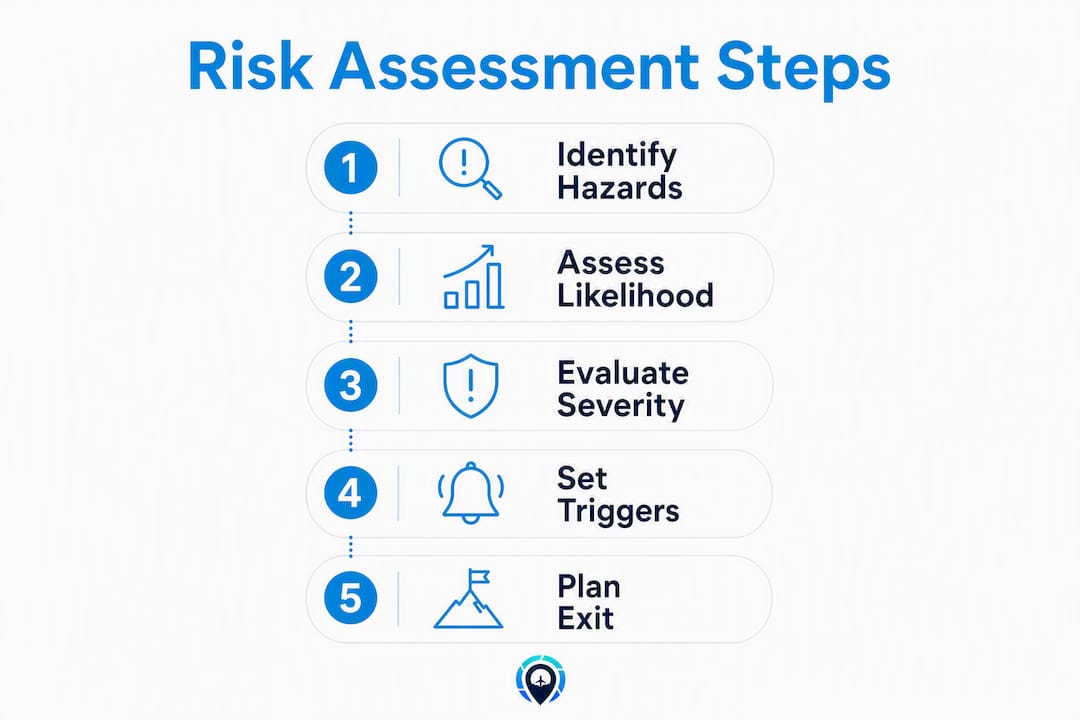
Step 3: Apply controls. Controls fall into three types: education (wilderness first aid training), engineering (carrying a satellite communicator), and substitution or elimination (choosing a safer river crossing upstream). Practical field guides recommend keeping margins for fuel, time, and fatigue as the simplest engineering controls most people skip.
Pro Tip: The three cognitive biases that most often wreck adventure decisions are summit fever (pushing past your turn-back point because the goal feels close), expert halo (trusting a confident group member over your own read of conditions), and scarcity bias (feeling like you’ll never get this shot again). Write your turn-back trigger before you leave — when you’re calm — so none of these can override it in the field.
“The most dangerous moment in any adventure is when you stop reassessing and start assuming everything is still fine.” — Expedition risk management principle, via Overland Gear Guide
A printable 60-second risk assessment template you can use right now
Field guides consistently recommend a one-page overview rather than a long manual. Here’s a copy-ready checklist:
- Trip leg: (e.g., Trailhead to summit ridge, 4.2 miles)
- Hazard 1: What it is / Likelihood (Low–High) / Severity (Low–High) / Control
- Hazard 2: What it is / Likelihood / Severity / Control
- Hazard 3: What it is / Likelihood / Severity / Control
- Exit / Plan B: Alternate route or bail-out point
- Check-in time: Who expects to hear from you, and when
Filled example — half-day mountain shoot, Colorado Rockies:
- Trip leg: Parking lot to alpine lake, 5 miles round trip, 1,200 ft gain
- Hazard 1: Afternoon thunderstorm / High / High / Turn back by 12:30 PM regardless of shot progress
- Hazard 2: Photographer fatigue on descent / Medium / Medium / Carry trekking poles; eat before descent
- Hazard 3: Satellite communicator low battery / Low / High / Charge fully night before; carry USB backup
- Exit / Plan B: Return via lower forest trail if ridge is exposed
- Check-in: Text partner at 1:00 PM; if no contact by 3:00 PM, call search and rescue
Store this as a pinned note on your phone or print it on a laminated card. Traveling Portrait’s Essential Gear Adventure Travel Checklist pairs directly with this template.
How risk assessment changes when you’re shooting adventure photos
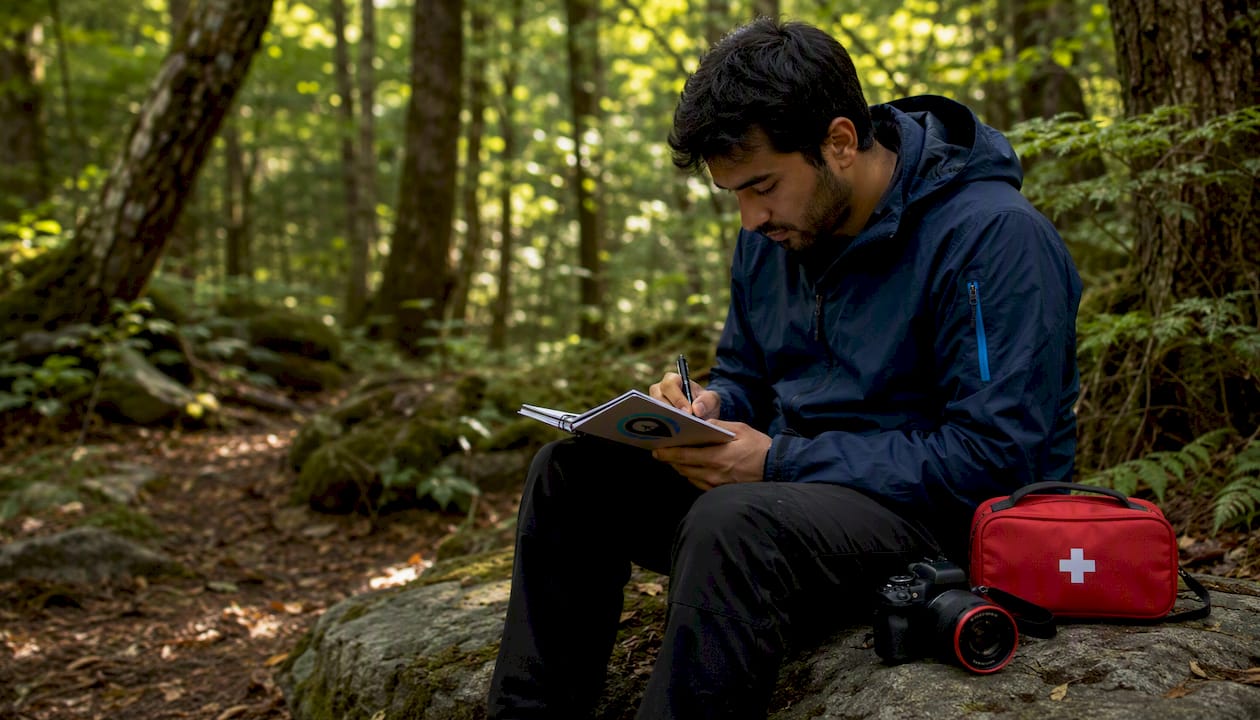
Photography adds a layer of hazard that pure hikers don’t face: you’re distracted, you’re carrying expensive gear, and you’re actively looking for edges, ledges, and dramatic angles that put you closer to danger.
Photographer John S. Pow makes the point plainly: effective risk checks for photographers don’t require complex modeling. A quick written list of hazards, ranked by likelihood, is enough. The act of writing it forces honest thinking that mental checklists skip.
“The best photographers are those willing to step back and choose locations that match the group’s skill level — not just their own.” — Bryce Powrie, mountain photoshoot safety
Andreas Schmid, who shoots in high-consequence alpine terrain, echoes this: know your limits before you’re standing on the edge, not after. Honest self-assessment in lower-risk settings is how you build the skill to attempt harder shots safely.
Practical rules for shoot days: assign roles before you start (one person as spotter, one managing gear, one tracking time and daylight). Set a hard pack-up time and honor it. On commercial shoots, apply the same safety-first policies you’d use on a personal trip — clients don’t override turn-back triggers. For aerial adventure photography specifically, crew roles and pre-flight hazard checks are non-negotiable.
Essential safety kit and communications for US adventure travelers
Most accidents in adventure travel stem from poor preparation, inadequate gear, or bad decisions — all factors within your control. Here’s what to carry:
- Personal first-aid kit: trauma dressings, SAM splint, blister care, pain relief, any personal medications, and a CPR face shield.
- Satellite communicator or PLB: Garmin inReach Mini 2, SPOT Gen4, or an ACR ResQLink PLB — your lifeline beyond cell range
- Two-way satellite messenger: lets you send and receive texts; a PLB only sends a distress signal
- Backup power: a 10,000–20,000 mAh power bank; cold temps drain batteries fast
- Signaling: a whistle (Fox 40 or similar), a signal mirror, and a headlamp with fresh batteries
- Shelter and thermal layers: an emergency bivy or space blanket weighs under 4 oz and has saved lives
- Basic repair kit: duct tape, a multi-tool, paracord, and camera-specific items (extra memory cards, lens cloth, body cap)
Statistic: Extreme adventure tourism carries a fatality risk that is generally recognized as higher than traditional tourism, but lower than driving. The gap between that number and a worse one is almost always preparation.
For photographers, the weight trade-off is real. Keep the PLB or sat messenger and the emergency bivy on your body, not in the basepack. Everything else can stay at camp for short shoots. Check the best travel gear guide for current weight-to-value comparisons.
Pro Tip: Test your satellite communicator at home before every trip. Send a test message, confirm the subscription is active, and charge to 100%. Cold mountain air can cut battery life by 30–40%, so carry that USB backup.
A simple before/during/after emergency plan you can copy
Before you go: Share your itinerary (exact location, daily check-in time, expected return) with someone at home. Check whether your health insurance covers medical care abroad or in remote US locations. Medical evacuation can exceed $100,000, and standard US health insurance often doesn’t cover it — add a travel insurance policy with evacuation coverage before you leave. Leave copies of your medical info and any prescriptions with your emergency contact.
During an incident: Use the STOP method: Sit down, Think clearly, Observe your surroundings, Plan your next move. Activate your PLB or sat messenger only when you’ve confirmed the situation warrants rescue. Keep communication brief and location-specific.
After: File an incident report if required. Contact your insurance provider immediately for evacuation or medical claims. Recover your gear and data. Give yourself a genuine mental health debrief — high-stress incidents affect decision-making on future trips, and talking through what happened matters.
Red flags that mean you should back out or call a professional
Threshold planning works because you set the rules when you’re calm, not when you’re tired and emotionally invested in the shot.
- Weather forecast shifts beyond your pre-set threshold (e.g., lightning risk within 10 miles, wind above 40 mph)
- Visibility drops below a level where safe navigation is uncertain
- Equipment failure — especially communications or navigation gear
- Physical symptoms: unusual fatigue, headache at altitude, dizziness, or any injury
- Route conditions outside your verified skill level (technical terrain you haven’t trained for)
- A missed check-in from any team member
- Daylight margin drops below your pre-defined buffer (e.g., less than 90 minutes of light remaining)
When any of these triggers fires, move to Plan B without debate. Hiring a professional guide makes sense when the terrain requires technical skills you haven’t built yet, when you’re traveling with medically dependent companions, or when evacuation logistics are genuinely complex. Guided operations at established adventure resorts, like those at Altai Mountains Resort, show how professional safety management works in practice — and what you’d be replicating on your own.
How long a personal risk assessment takes and what it costs
The time investment is smaller than most people expect.
- Per-leg micro-assessment: 60 seconds, done at each transition point
- Pre-day review: 10–30 minutes the morning of a shoot or hike
- Full pre-trip checklist (multi-day): 1–2 hours, done at home before departure
| Control | Typical Cost | Time to Learn/Use |
|---|---|---|
| PLB (ACR ResQLink, etc.) | — | 30 minutes setup |
| Satellite messenger (Garmin inReach) | — | 1–2 hours setup |
| Travel insurance with evacuation | — | 30 minutes research |
These are practical estimates based on current US market pricing. Costs vary by provider and trip length.
Key Takeaways
A personal risk assessment completed in 60 seconds per leg, with one pre-defined turn-back trigger and minimum satellite communications, is the most effective safety habit an adventure photographer can build.
| Point | Details |
|---|---|
| 60-second hazard check | List three hazards per leg, rank likelihood and severity, note one control for each. |
| Set one non-negotiable trigger | Define your turn-back condition before you leave — weather, daylight, or fatigue threshold. |
| Carry minimum comms | A PLB or satellite messenger on your body, not in the basepack, is the control that enables rescue. |
| Evacuation costs are real | Medical evacuation can exceed $100,000; confirm your insurance covers it before departure. |
| Traveling Portrait workshops | Supervised field training through Traveling Portrait combines short templates with hands-on safety practice. |
Safety first is what keeps the creative work going
Here’s my honest take: most adventure photographers I know treat risk assessment like a bureaucratic chore — something guides do for groups, not something a solo shooter needs. That’s backwards. The formal organizational version of risk assessment (the clipboard-and-compliance kind) isn’t what we’re talking about here. A personal assessment is just structured thinking. It’s the difference between noticing that the afternoon storm window is closing and realizing it only after you’re exposed on a ridge.
What I find genuinely underappreciated is the confidence effect. When you’ve written down your hazards and your exit, you stop second-guessing yourself mid-shoot. You make faster, cleaner decisions because the framework is already in place. That mental clarity shows up in your images. The photographers who consistently produce great work in hard conditions aren’t reckless — they’re prepared enough to be calm.
The other thing worth saying: good trip planning doesn’t shrink your adventure. It expands it. When you know your margins, you can push closer to them with confidence rather than pulling back out of vague anxiety. That’s the real benefit of risk analysis — not avoiding adventure, but doing more of it, better.
Traveling Portrait’s practical tools for safer adventures
Traveling Portrait’s travel photography workshops are built around exactly this: short, usable safety templates combined with supervised field practice so you actually internalize the habits, not just read about them. You’ll work through crew roles, turn-back triggers, and gear checks in real terrain — the kind of repetition that makes the 60-second assessment automatic.
For your next trip, start with the Essential Gear Adventure Travel Checklist — a free, printable resource that pairs with the template in this article. And if you want the full picture of what adventure travel preparation looks like, Adventure Travel Defined is the place to start.
Useful sources and further reading
- Adventure Travel | CDC Yellow Book — health guidance and the probability × consequence × bias risk framework
- Adventure Travel Safety | U.S. Department of State — evacuation cost context and insurance guidance for US travelers
- Essential Gear Adventure Travel Checklist | Traveling Portrait — downloadable checklist that pairs with the template above
Recommended
Other Posts You Might Like