Underwater Travel Photography: A Complete 2026 Guide
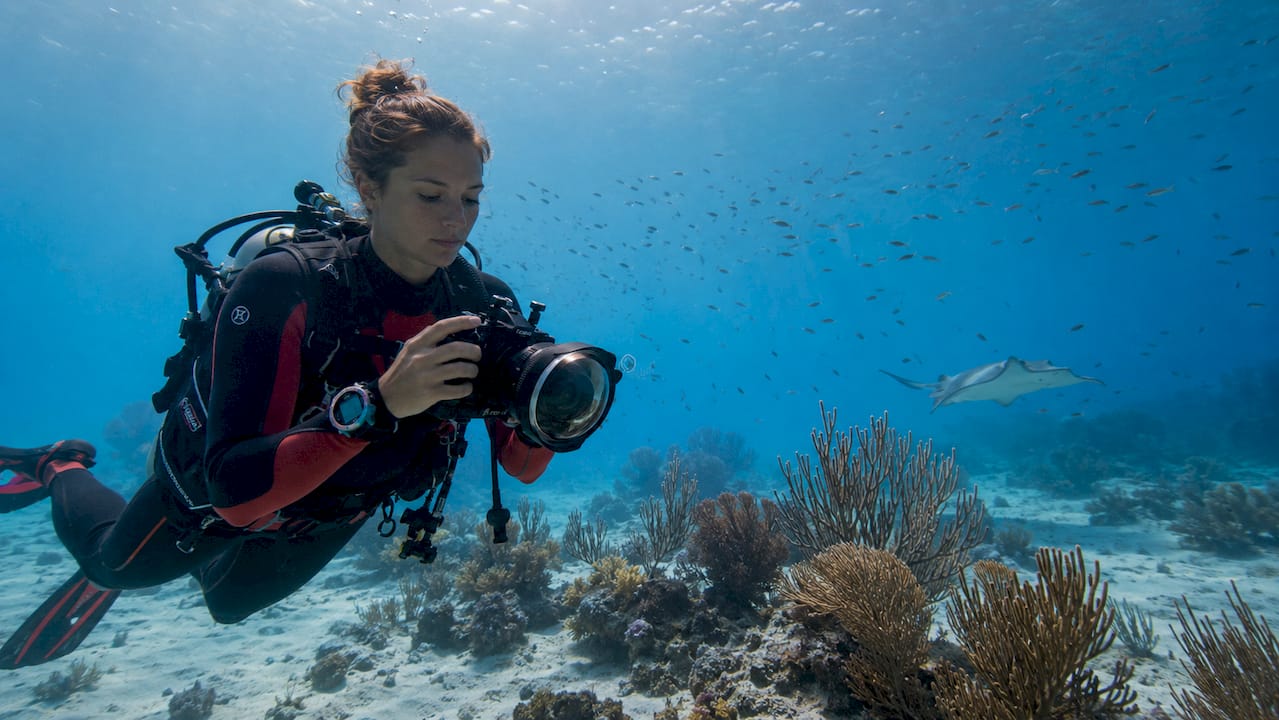
Underwater travel photography is defined as the practice of capturing compelling images beneath water surfaces while exploring travel destinations, combining specialized gear, unique techniques, and artistic vision. Whether you’re snorkeling a coral reef in the Maldives, freediving a Mexican cenote, or wading through a tide pool in California, this discipline sits at the intersection of adventure travel and serious craft. What is underwater travel photography, really? It’s one of the most technically demanding and visually rewarding genres a travel photographer can pursue. Traveling Portrait has covered adventure photography across the globe, and nothing stops people mid-scroll quite like a sharp, color-rich shot from below the surface.
What is underwater travel photography and why does it matter?
Underwater photography is the art of capturing images beneath the water’s surface across environments like coral reefs, tide pools, cenotes, and open ocean. The industry term is “underwater photography,” and when it happens during travel, it becomes a distinct discipline with its own gear demands, ethical rules, and creative possibilities. Most travel photographers treat it as a bonus skill. The photographers who commit to it properly come home with images nobody else has.
The appeal goes beyond novelty. Underwater environments offer subjects and light conditions that simply don’t exist on land. A school of fish catching sunlight at 5 meters, a sea turtle gliding over a reef, a split-level shot showing both worlds at once. These images tell stories that no landscape or street photo can replicate. That’s why marine life photography has become one of the fastest-growing niches in adventure travel photography.
The barrier to entry is lower than most people think. Beginners can start without scuba certification by snorkeling in shallow, well-lit water with a compact or action camera in a waterproof housing. That single fact removes the biggest excuse most photographers use to avoid it.
What are the essential techniques for underwater travel photography?
Technique matters more than gear in this discipline. A photographer with perfect buoyancy and a GoPro will outshoot a clumsy diver with a full mirrorless rig every single time.
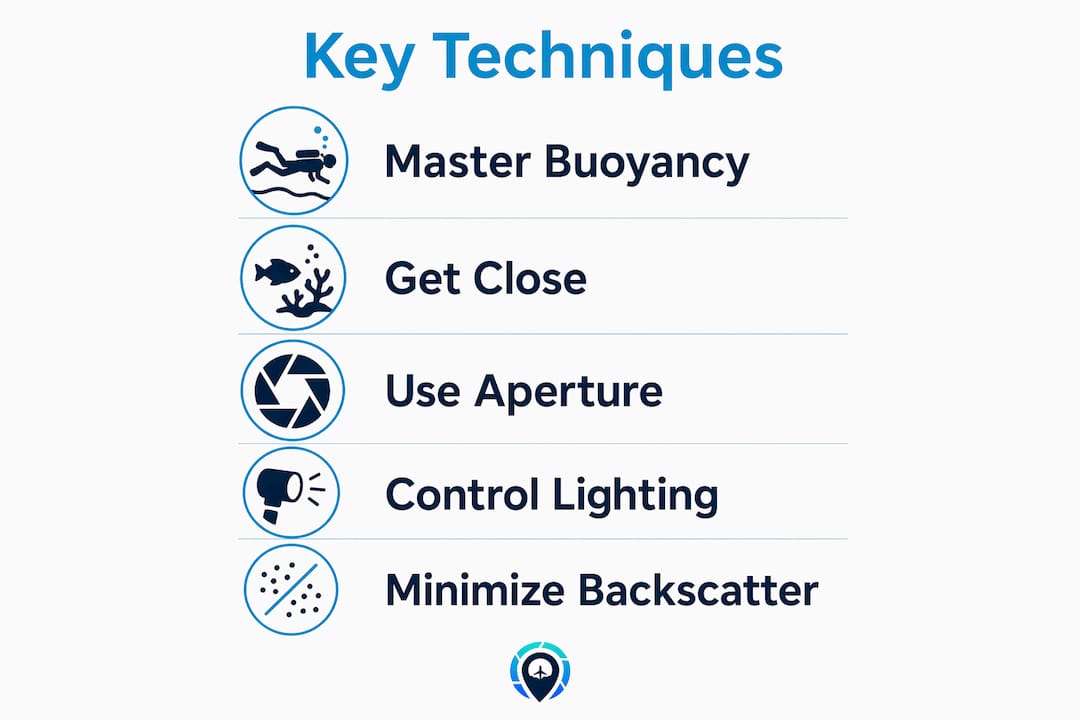
Master buoyancy first
Buoyancy control protects fragile ecosystems and improves image quality by reducing sediment disturbance. Kicking up silt ruins visibility instantly, and a brushed coral head is damaged for years. Practice neutral buoyancy until it’s automatic before you worry about camera settings.
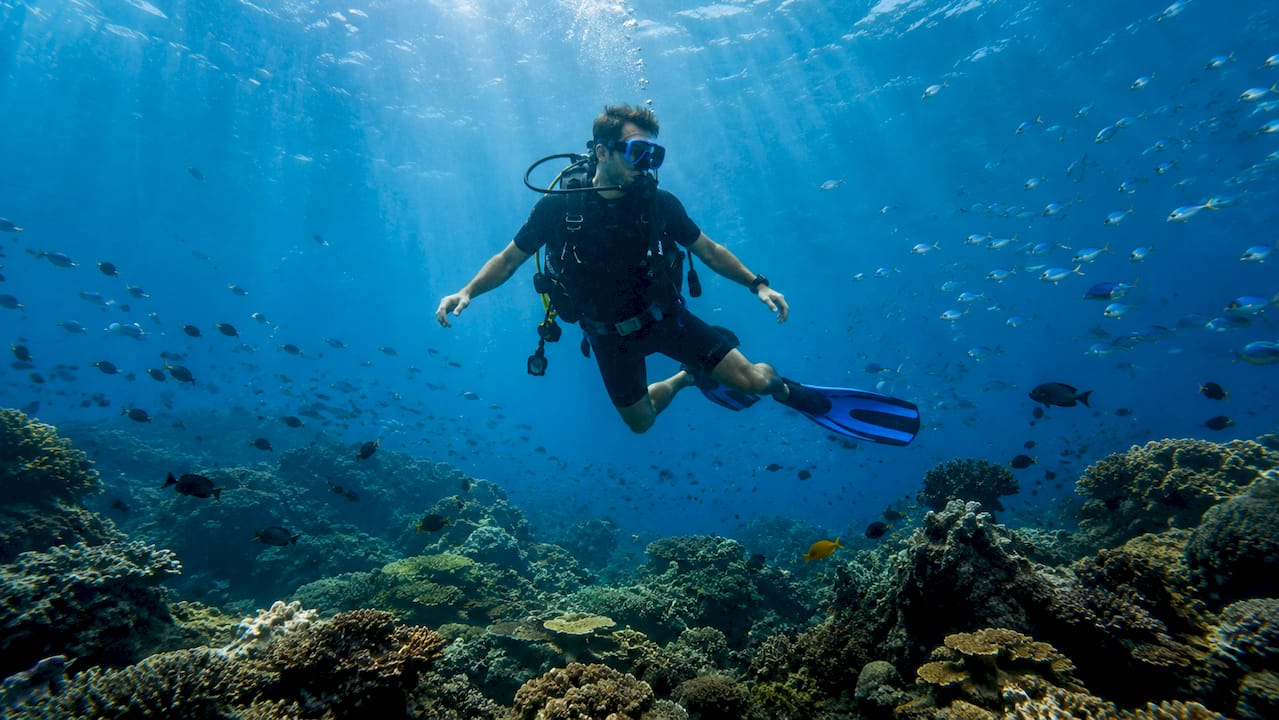
Get physically close to your subject
Getting within about 1 meter of your subject is the single most effective way to maintain color, contrast, and sharpness. Water absorbs light fast, and every extra meter between you and your subject costs you color and detail. Slow, deliberate movement is the key. Rushing toward a subject spooks it and stirs sediment.
Apply these core shooting techniques
- Shoot upward when possible. Pointing your camera toward the surface uses natural light as a backlight and creates dramatic silhouettes and color gradients.
- Use continuous autofocus. Fast-moving fish and marine animals require predictive tracking, not single-shot focus.
- Anticipate behavior. Mastering animal behavior before camera technique dramatically improves shot quality. Watch how a subject moves before pressing the shutter.
- Shoot in RAW format. Post-processing flexibility is critical underwater because white balance and color correction are almost always needed.
- Use burst mode for action. Currents and moving subjects make single-frame shooting unreliable.
Pro Tip: Set your camera to aperture priority mode with a wide aperture (f/2.8 to f/5.6) for ambient light shots, then switch to manual when using strobes. This gives you control over both exposure and flash output.
What specialized equipment do you need for underwater travel photography?
Gear selection for travel underwater photography is a balancing act. You need enough capability to get quality shots without packing so much that you’re exhausted before you hit the water.
Camera options by experience level
| Camera type | Best for | Key advantage |
|---|---|---|
| Action cameras (e.g., GoPro) | Beginners, snorkelers | Compact, affordable, built-in waterproofing |
| Compact cameras in housing | Intermediate travelers | Better image quality, manual controls |
| Mirrorless or DSLR in housing | Advanced divers | Full creative control, interchangeable lenses |
Action cameras are genuinely capable for travel snorkeling and shallow reef shots. Compact cameras in dedicated housings offer a major step up in image quality without the bulk. Mirrorless systems in aluminum or polycarbonate housings give you the most creative control but require serious investment and careful packing.
Housings, ports, and lighting
The housing protects your camera from water pressure and saltwater corrosion. The port type determines what kinds of shots you can take. A dome port is the right choice for split-level (half-above, half-below) shots and wide-angle work. Split-level shots require a dome port and small apertures to reduce distortion and maximize depth of field. A flat port suits macro photography and telephoto lenses.
Lighting is where most beginners underinvest. A pair of strobes on articulated arms makes the difference between flat, blue-green images and vivid, color-rich shots. Positioning strobes away from the lens axis reduces backscatter, which is the white speckle effect caused by light bouncing off suspended particles.
- Rinse your housing and seals with fresh water after every dive. Saltwater corrosion is the leading cause of housing failure and camera flooding.
- Carry spare O-rings and silicone grease in your dive bag.
- Test your housing in a bucket of fresh water before every trip.
Pro Tip: Traveling light and choosing versatile gear produces more authentic storytelling than hauling a complex setup. A single wide-angle lens handles 80% of underwater travel scenarios.
Check out the best travel gear guide from Traveling Portrait for a curated list of travel-friendly photography equipment that works above and below the surface.
How does light behave underwater, and how do you work with it?
Light underwater behaves nothing like it does on land. Water density affects light penetration, refraction, and visibility in ways that require photographers to rethink every exposure decision they’ve ever made. Understanding this physics is the real skill gap between average and excellent underwater images.
Color absorption and depth
Reds and oranges disappear within 5–10 meters of depth. That means a vibrant red sea fan at 8 meters looks gray-brown in a photo taken with ambient light only. Blues and greens penetrate deepest, which is why unlit underwater photos always look cold and monochromatic. This is not a gear problem. It’s physics, and you solve it with proximity and artificial light.
Backscatter and strobe placement
Backscatter ruins more underwater photos than any other single issue. It appears as white dots or streaks across the frame, caused by your strobe illuminating particles suspended in the water between the lens and your subject. The fix is mounting strobes on articulated arms positioned away from the camera lens, so the light hits your subject from the side rather than straight through the water column in front of you.
Natural light strategies
| Condition | Best approach | Why it works |
|---|---|---|
| Shallow reef, midday | Shoot upward, no strobe | Sun creates dramatic backlight |
| Murky water | Get within 1 meter, use strobes | Reduces water column between lens and subject |
| Blue water column | Wide aperture, fast shutter | Captures ambient blue tones cleanly |
| Overcast surface | Increase ISO, shoot horizontal | Diffused light reduces harsh shadows |
Pro Tip: Shoot between 10 AM and 2 PM local time for maximum natural light penetration. The sun angle at midday pushes light straight down through the water column, giving you the best ambient exposure at depth.
Post-processing in Lightroom or Capture One lets you recover color by boosting reds and oranges in the HSL panel. Shooting RAW gives you the latitude to do this without destroying image quality.
What ethical practices should underwater travel photographers follow?
Ethical responsibility is not optional in underwater adventure photography. The environments you’re photographing are fragile, and the animals you’re chasing are wild. Getting the shot is never worth damaging a reef or stressing a creature.
- Never touch marine life. Contact transfers oils and bacteria, and it stresses animals that have no way to escape you.
- Maintain neutral buoyancy at all times. A single fin kick into a coral head can destroy decades of growth.
- Recognize avoidance signals. If a fish swims away, let it go. Chasing subjects produces worse photos and causes real harm.
- Do not chase or corner animals. Cornered animals panic, and a panicked animal is a dangerous one. Manta rays and sharks deserve space.
- Follow local regulations. Many marine parks prohibit flash photography near certain species. Research the rules before you dive.
- Contribute to citizen science. Platforms like iNaturalist and Reef Check let you submit your photos as data points for marine conservation research. Your images can do real scientific work.
Respecting marine life behavior and minimizing disturbance is the foundation of ethical underwater photography. The best underwater photographers are also the most patient and the most respectful. Those two things are connected. Read more about responsible practices in Traveling Portrait’s guide to eco-adventure travel.
Key Takeaways
Underwater travel photography demands mastery of light physics, buoyancy control, and ethical wildlife behavior before any gear upgrade will make a meaningful difference.
| Point | Details |
|---|---|
| Light physics drives everything | Reds vanish by 5–10 meters; get close and use strobes to restore color. |
| Buoyancy before gear | Neutral buoyancy protects reefs and produces sharper, cleaner images. |
| Dome port for split shots | Split-level photography requires a dome port and small apertures to reduce distortion. |
| Travel light for better stories | Versatile, compact gear produces more authentic images than heavy complex setups. |
| Ethics are non-negotiable | Never touch marine life, follow local regulations, and recognize animal avoidance signals. |
What I’ve learned after years of shooting underwater
The most common mistake I see travel photographers make underwater is treating it like a gear problem. They buy the housing, rent the strobes, and then get in the water without practicing buoyancy for a single session. The result is predictable: blurry shots, stirred-up silt, and spooked fish.
Here’s what I’ve found actually works. Spend at least two dives just swimming with your hands at your sides, focusing entirely on your position in the water. No camera. Just movement. Once you can hover motionless at any depth without finning, you’re ready to shoot. That skill alone will improve your images more than any lens upgrade.
The other thing I’d push back on is the idea that you need a full mirrorless rig to get serious underwater shots. I’ve seen stunning marine life photography shot on compact cameras with entry-level housings. The camera bag matters less than the eye behind it. Traveling light also means you actually get in the water more often, which is where all the good shots live.
Patience is the real skill. The turtle that ignored you for 20 minutes will eventually get curious and swim right up to your port. That’s the shot. You can’t rush it, and you can’t buy it.
— Justin Frazier
Ready to shoot your next underwater adventure?
Traveling Portrait’s travel photography workshop covers underwater techniques, gear selection, and composition skills built specifically for travel photographers who want to shoot in the ocean, not just near it.
Whether you’re planning a reef dive in Southeast Asia or a snorkeling trip in the Caribbean, the right preparation makes all the difference. Browse Traveling Portrait’s adventure travel destinations for location-specific guides that pair perfectly with your underwater photography goals. From gear checklists to ethical dive planning, Traveling Portrait gives you the practical knowledge to come home with images worth sharing.
FAQ
What is underwater travel photography in simple terms?
Underwater travel photography is the practice of capturing images beneath the water’s surface during travel, using waterproof cameras or housings across environments like coral reefs, cenotes, and open ocean.
Do I need scuba certification to start underwater photography?
No. Beginners can start by snorkeling in shallow, well-lit water with a compact camera or action camera in a waterproof housing, no scuba certification required.
What is the biggest technical challenge in underwater photography?
Light behavior is the main hurdle. Water absorbs colors rapidly, with reds and oranges disappearing within 5–10 meters, requiring photographers to shoot close to subjects and use strobes to restore color.
How do I prevent backscatter in underwater photos?
Mount your strobes on articulated arms positioned away from the lens axis. This directs light at your subject from the side rather than illuminating suspended particles directly in front of the lens.
What camera is best for beginner underwater travel photography?
Action cameras like the GoPro are the most accessible starting point. They’re compact, affordable, and built-in waterproof, making them ideal for snorkeling and shallow reef photography.
Recommended
Other Posts You Might Like