Horseshoe Bend Sunset: Timing, Light, and Photography Tips
Arrive 60–90 minutes before published sunset, stake a safe rim spot, and you’ll catch the full late-afternoon light window that makes Horseshoe Bend one of the most photographed overlooks in the American Southwest. Here’s the quick plan:
- Arrive 60–90 minutes early to allow time for parking, the 20–25 minute hike in, and finding your spot on the rim before the golden hour kicks off.
- Shoot the late-afternoon window when direct sunlight hits the river meander and the canyon walls glow orange and red.
- Capture the starburst at the exact moment the sun crosses the rim (roughly true sunset).
- Stay 20–30 minutes after sunset for the afterglow, when the crowds thin and the sky turns deep violet and pink.
- Bring a headlamp for the return. The gate stops admitting visitors at official sunset, but the trail back is completely unlit — a phone flashlight won’t cut it.
Key Takeaways
The single most important thing to know: arrive 90 minutes before sunset, shoot the river-lit window before the starburst, stay for the afterglow, and never attempt the return trail without a headlamp.
| Point | Details |
|---|---|
| Arrive 90 minutes early | Allows time for parking, the 20–25 minute hike, and staking a rim spot before golden hour. |
| River goes dark before sunset | The canyon rim blocks direct light from the river 30–45 minutes before official sunset; shoot the river-lit frame first. |
| Starburst at f/11–f/16 | Stop down to f/11–f/16 at the exact moment the sun crosses the rim for the spike effect. |
| Stay for 20–30 minutes of afterglow | Crowds thin after sunset and the sky produces its best colors; bring a headlamp for the unlit return trail. |
| Traveling Portrait workshops | Hands-on sunset instruction at Horseshoe Bend and other Southwest locations, covering light timing, HDR workflow, and safety. |
Table of Contents
- What time should you arrive for the Horseshoe Bend sunset?
- How does the light actually behave at sunset?
- What camera settings and gear do you need?
- When is the best season and time to visit for photos?
- Parking, gate rules, trail details, and staying safe after dark
- Golden hour, the starburst, and afterglow: what happens minute by minute
- A step-by-step photographer workflow for the overlook
- Why sunset at Horseshoe Bend is worth every bit of the effort
- Traveling Portrait workshops and gear guides for better sunset shots
- Sources
What time should you arrive for the Horseshoe Bend sunset?
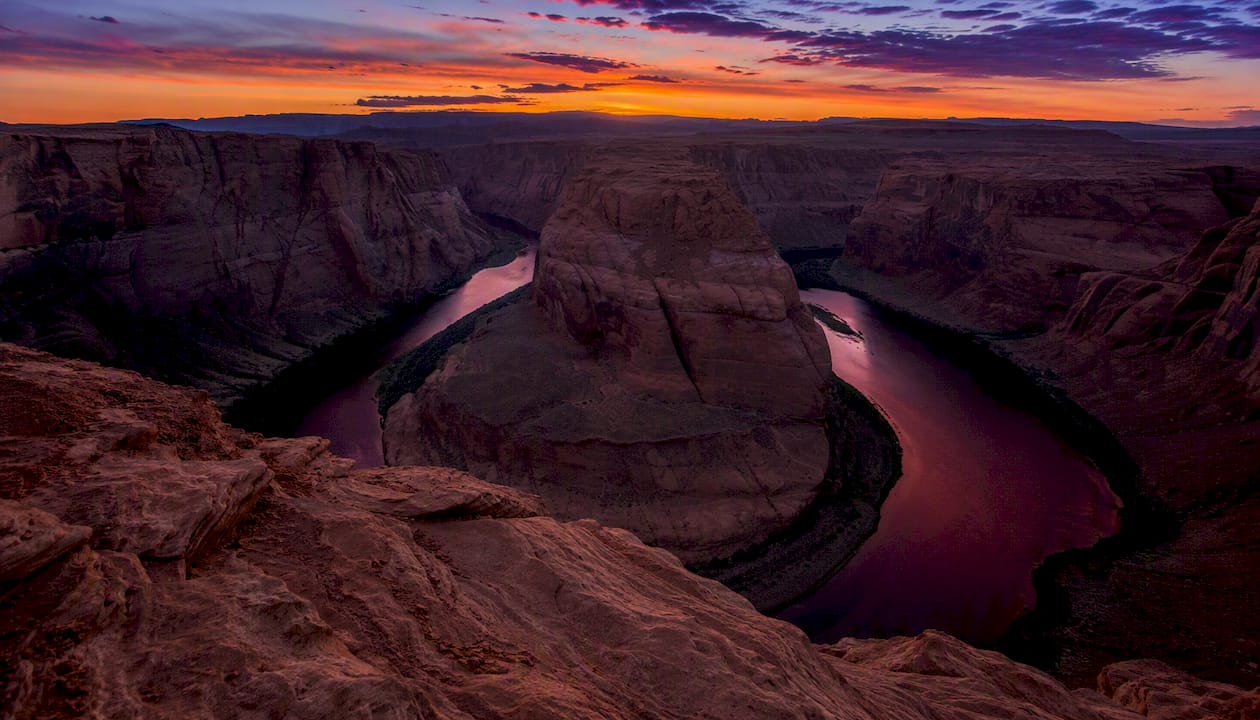
The overlook faces due west. That single fact shapes everything about how light behaves here. Because the sun tracks directly toward the canyon as it drops, the late afternoon produces the most dramatic illumination of the Colorado River and the sandstone walls. But there’s a catch: the canyon rim blocks the sun from reaching the river floor before the official sunset time listed in apps. Plan for the river to fall into shadow roughly 30–45 minutes before official sunset, even though the cliffs above it stay lit and glowing.
The practical arrival rule: be through the gate 60–90 minutes before published sunset. That buffer covers parking (the lot can fill in peak season), the 20–25 minute walk each way, and time to scout a good rim position before the light gets interesting.
Seasonal timing shifts the window noticeably:
- Summer: Direct sunlight reaches the river roughly between 4:30–6:00 pm; sunset comes late, so you have a longer window but bigger crowds.
- Spring and fall: The window shifts earlier, often starting around 3:30–4:30 pm, with cooler temperatures and some of the best sky colors.
- Winter: The sun sets earlier and lower on the horizon, which can produce dramatic long shadows across the canyon walls; arrive by 2:30–3:00 pm to be safe.
For exact times on your specific date, check Timeanddate, which lists civil and nautical twilight in addition to official sunrise and sunset. Civil twilight ends roughly 30 minutes after sunset and marks when the sky transitions from orange to deep blue — useful if you’re planning long exposures during afterglow.
Pro Tip: Before you leave your accommodation, pull up timeanddate for your exact date and note both the official sunset time and civil twilight. Then count back 90 minutes — that’s your target arrival at the parking lot, not the trailhead.
The City of Page manages access and enforces gate rules, so confirm current hours before you go, especially in shoulder seasons when hours can shift.
How does the light actually behave at sunset?
The late-afternoon window is when the magic happens. As the sun drops toward the western horizon, it angles directly into the canyon, lighting up the river’s surface and turning the sandstone walls from tan to deep amber. This is the window most photographers are really chasing, even if they call it “sunset photography.”
When the sun first hits the meander, the river glows a warm copper color and the reflections become vivid. The canyon walls pick up texture and depth that flat midday light completely kills. Because the overlook faces due west, sunrise leaves the river in shadow for 30–90 minutes, which is exactly why experienced photographers often prefer the late-afternoon window over both sunrise and true sunset for the classic river-lit shot.
Composition options during this window:
- Wide-angle rim frame: Position yourself near the fenced viewing area and use the curved rim as a leading line into the meander below.
- Low foreground shot: Get close to the rim edge (safely, behind any barriers) and include the textured sandstone as a foreground element.
- Panoramic stitch: The full 180-degree view rewards a multi-frame stitch; use a nodal point adapter on your tripod if you have one.
- Silhouette shots: When the river falls into shadow, shift focus to the sky and use the canyon rim as a dramatic silhouette frame.
Pro Tip: To nail the starburst, position yourself so the sun is just barely peeking over the canyon rim. Stop down to f/11–f/16 and use a small aperture to produce the spike effect. Avoid pointing directly at the full sun — wait for the rim to partially block it.
When the river goes dark, don’t pack up. The cliffs above stay lit for another 10–15 minutes, and the sky during afterglow can be spectacular. Shift your composition upward and expose for the sky.
What camera settings and gear do you need?
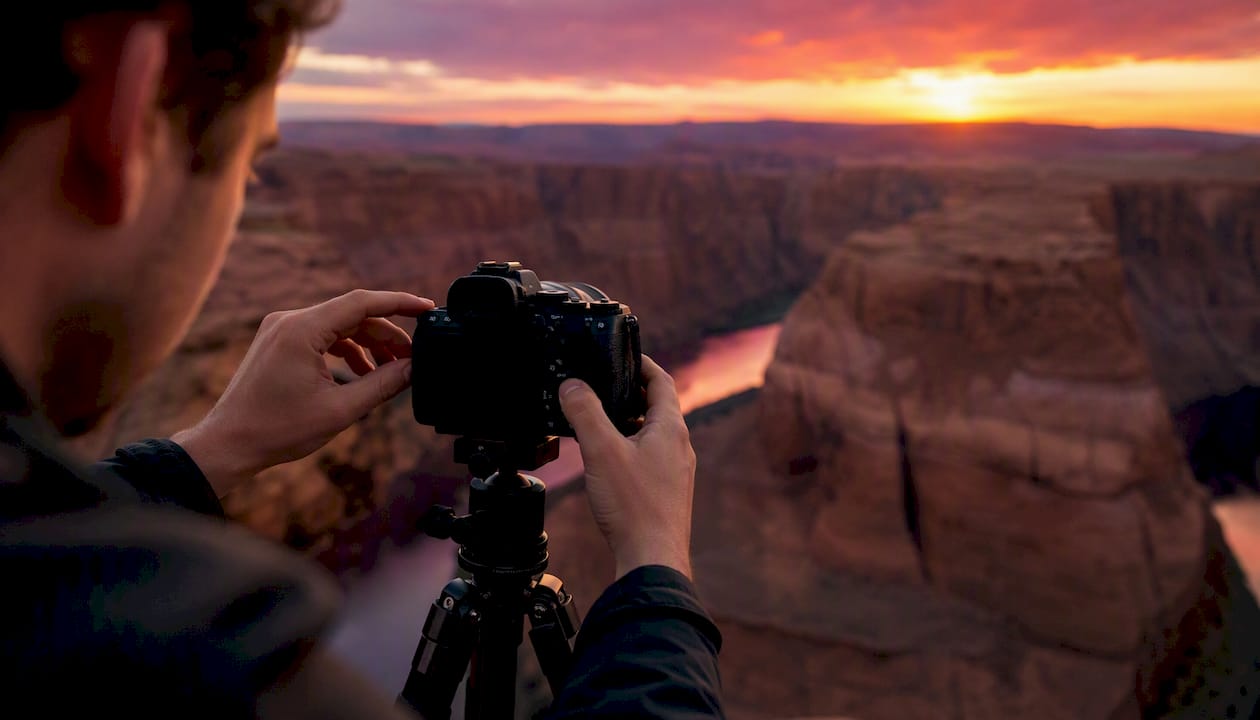
The dynamic range at Horseshoe Bend at sunset can reach up to seven stops between the bright sky and the shadowed canyon floor. A single exposure rarely captures both well. Photographers advise HDR bracketing with 3–5 exposures at 1-stop intervals, or a 3–4 stop graduated ND filter to balance the sky and canyon in a single frame.
Here are starter settings for three common scenarios:
| Scenario | ISO | Aperture | Shutter Speed |
|---|---|---|---|
| Golden-hour river-lit frame | 100–200 | f/8–f/11 | 1/60–1/100 sec |
| True sunset starburst | 100 | f/11–f/16 | 1/30–1/100 sec |
| Afterglow long exposure | 100–400 | f/8–f/11 | 2–30 sec |
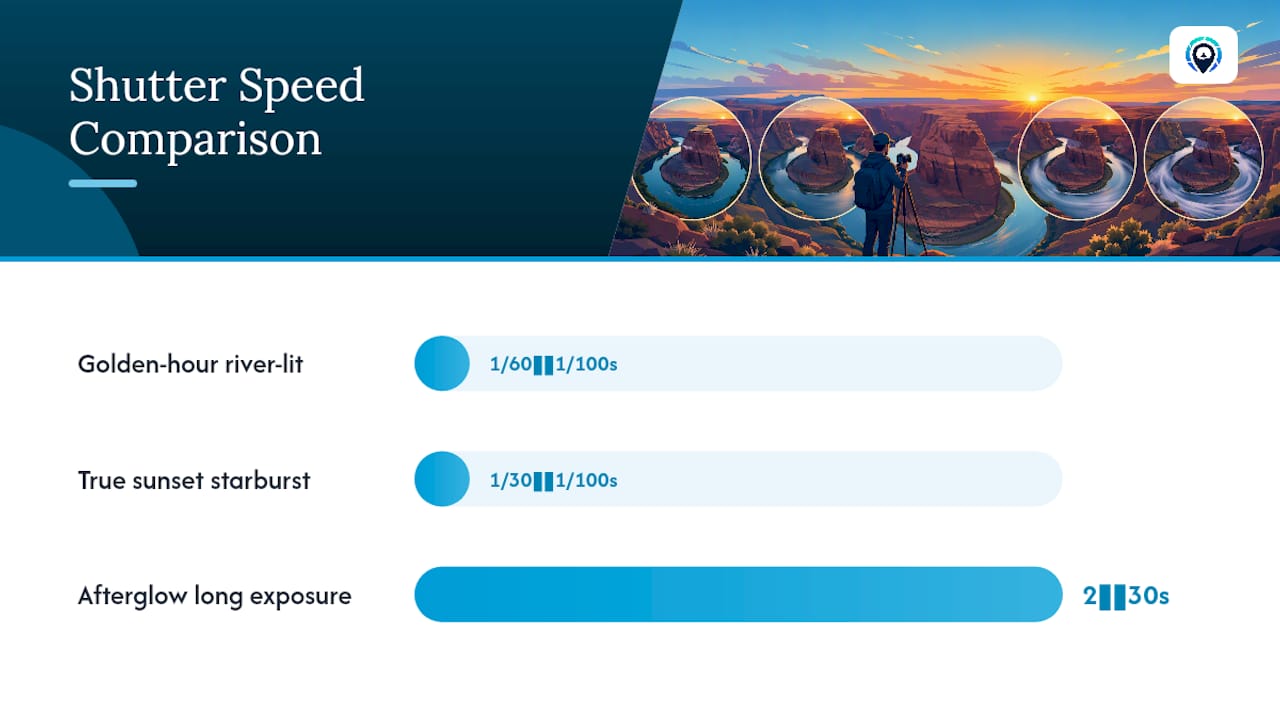
These are starting points. Bracket from here and review your histogram — the canyon floor will often be underexposed in a sky-exposed single frame, which is exactly when HDR merging earns its keep.
Gear checklist:
- Sturdy tripod (non-negotiable for long exposures and starburst shots)
- Wide-angle lens (16–24mm full-frame equivalent) for the classic rim-to-river composition
- Telephoto lens (70–200mm) for rim detail and compressed canyon shots
- Lens hood to cut flare when shooting directly toward the sun
- Graduated ND filter (3–4 stops, soft edge) for single-exposure sky/canyon balance
- Extra batteries and memory cards (cold evenings drain batteries faster)
- Lens cloth for dust, which is constant on the trail
- Headlamp with spare batteries — the most important safety item for the return hike
- Sun protection and at least one liter of water per person
For a deeper breakdown of what to pack for desert shoots, the best travel photography gear guide covers everything from filter systems to camera bags built for dusty trails.
Pro Tip: Test your tripod stability before golden hour hits. Give it a gentle nudge — if it wobbles, tighten the leg locks and add weight (your camera bag) to the center hook. A shaky tripod during a 10-second afterglow exposure ruins the whole sequence.
When is the best season and time to visit for photos?
Spring and fall are the sweet spots for most photographers. The light window starts earlier in the day, temperatures are manageable, and the sky tends to produce more dramatic cloud formations than the flat blue of summer. The late-afternoon direct-light window runs roughly 4:30–6:00 pm in summer and shifts earlier in spring, fall, and winter.
| Season | Light Window (approx.) | Crowd Level |
|---|---|---|
| Summer (June–August) | 4:30–6:00 pm | Very high |
| Spring (March–May) | 3:30–5:30 pm | Moderate to high |
| Fall (September–November) | 3:00–5:00 pm | Moderate |
| Winter (December–February) | 2:30–4:30 pm | Low to moderate |
A few crowd realities worth knowing: For more ideas on planning your visit, check out things to do near Red River Gorge cabins, which offers helpful suggestions for nearby activities and dining options.
- Peak season (summer and spring break) brings the biggest crowds to the rim. The parking lot can fill during peak times, so arriving 90 minutes before sunset is not just a photography tip — it’s a logistics necessity.
- Weekday visits in fall or winter offer noticeably quieter conditions on the rim, which matters a lot when you’re trying to set up a tripod.
- If you want solitude AND good light, late October through November is probably the best combination of both.
Photographers who prioritize epic skies over solitude should target summer monsoon season (July–September), when afternoon thunderstorms can produce dramatic cloud formations right at golden hour. Just watch the weather carefully and never be on the rim during lightning.
Parking, gate rules, trail details, and staying safe after dark
Getting the logistics right is just as important as getting the exposure right. Here’s what you need to know before you go:
- Gate hours: The City of Page manages access; confirm current hours before arrival. You can enter and stay past sunset, but the gate stops admitting new visitors at official sunset. Late arrivals cannot enter, and roadside parking on US-89 is enforced.
- Parking: The main lot has several hundred spaces, but it fills during peak season. Arriving 90 minutes early gives you the best chance of a spot without stress.
- Trail: The hike from the parking lot to the overlook is roughly 0.9 miles each way with some elevation change. Allow 20–25 minutes each way at a comfortable pace. The surface is sandy and uneven in places.
- Return hike: The trail is completely unlit. A reliable headlamp (not a phone flashlight) is the single most important safety item for anyone staying for afterglow.
- Rim safety: Stay behind fenced platforms when they’re present. The drop is severe and the sandstone edge can be unstable. During crowded conditions, be especially careful when moving with a tripod.
- Drones: Drone use requires a permit and is subject to restrictions; check with the National Park Service and City of Page for current rules before you fly.
For desert hike safety tips that go beyond the basics, the Buckskin Gulch hiking guide has solid gear and safety advice that applies directly to after-dark desert returns.
Safety note: The gate closes to new arrivals at official sunset, but you’re allowed to stay for the afterglow. The trail back is completely unlit and the ground is uneven. A proper headlamp with fresh batteries is non-negotiable — plan your return before it gets fully dark if you’re not confident on the trail at night.
Golden hour, the starburst, and afterglow: what happens minute by minute
The last 60–90 minutes before sunset at Horseshoe Bend breaks into three distinct photographic phases, and each one rewards a different approach.
- 60–30 minutes before sunset: Direct sunlight hits the river meander and canyon walls. This is the classic river-lit window. Expose for the canyon floor and let the sky blow slightly, or use a graduated ND to hold both.
- 30–15 minutes before sunset: The canyon rim begins to block direct light from reaching the river floor. The cliffs above stay brilliantly lit while the river darkens. Shift compositions upward to focus on the glowing walls.
- True sunset (the starburst moment): The sun crosses the canyon rim and produces a starburst effect. Shoot at f/11–f/16 for the strongest spike. This moment lasts only a few minutes, so have your settings dialed in before it arrives.
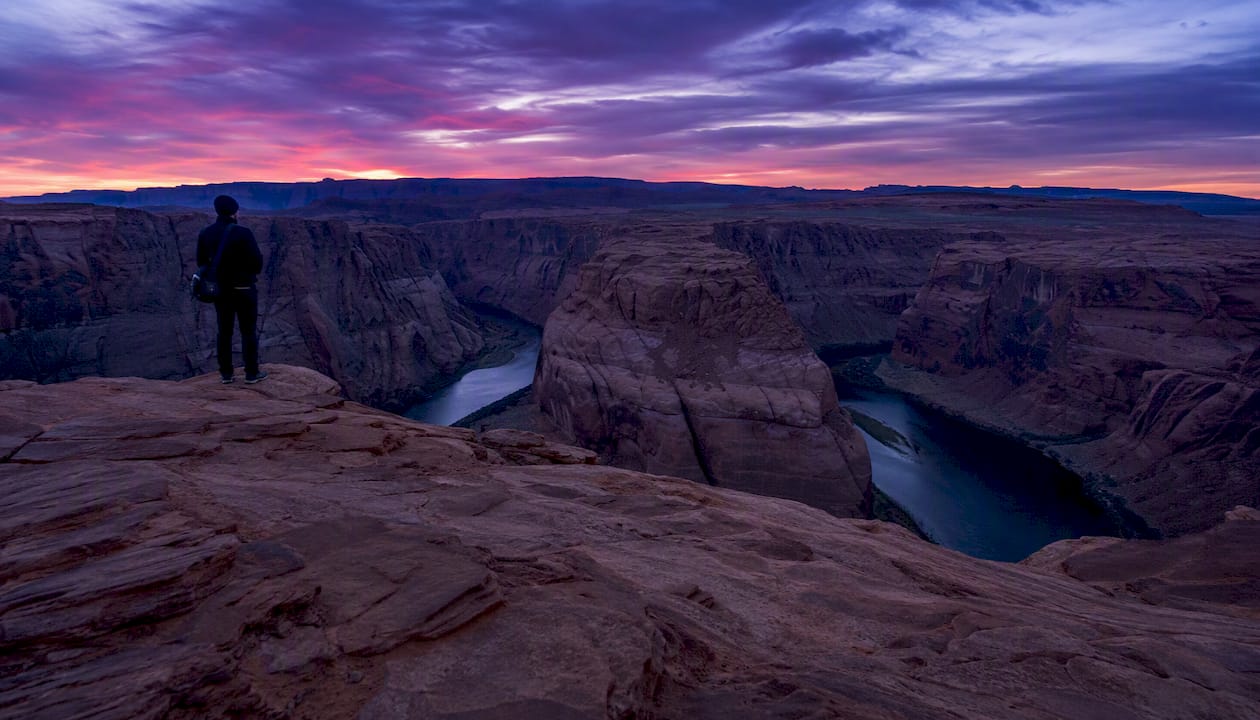
- 0–30 minutes after sunset (afterglow): The sky shifts from orange to pink to deep violet. The canyon walls reflect soft ambient light. Crowd flow often eases right after sunset as some visitors leave, giving you a quieter window for longer exposures and more contemplative compositions.
Pro Tip: The starburst and the river-lit shot are two separate moments. Don’t try to capture both from the same position with the same settings. Nail the river-lit frame first, then adjust aperture and recompose for the starburst as the sun approaches the rim.
The afterglow period is genuinely underrated. Most visitors leave right after sunset, but the 20–30 minutes that follow often produce the most emotionally resonant sky colors of the whole evening.
A step-by-step photographer workflow for the overlook
This is the sequence that works at Horseshoe Bend, refined from shooting desert overlooks across the American Southwest.
- Arrive at the parking lot 90 minutes before sunset. Pay the entry fee, grab your gear, and start the hike immediately.
- Scout the rim during the first 10 minutes. Walk the full accessible rim area before committing to a spot. Note where the sun will set relative to the canyon and identify two or three potential compositions.
- Set up your tripod 60 minutes before sunset. Stake your spot, level the head, and compose your wide-angle frame. Test stability.
- Shoot the river-lit window (60–30 minutes before sunset). Set ISO 100–200, f/8–f/11, and expose for the canyon midtones. Bracket 3–5 frames at 1-stop intervals for HDR merging later.
- Apply your graduated ND filter when the sky/canyon contrast becomes unmanageable in a single frame.
- Recompose for the starburst as the sun approaches the rim. Stop down to f/16, confirm focus, and fire a burst as the sun crosses.
- Switch to afterglow compositions immediately after the starburst. Open up to f/8, increase ISO to 200–400, and use longer shutter speeds (2–30 seconds) for smooth sky gradients.
- Manage crowds politely. If someone needs to pass behind your tripod, pause your exposure sequence. A quick “I’m in a long exposure, just one second” works every time.
- Pack up before full dark if you’re not fully comfortable on unlit trails. Switch on your headlamp before you actually need it.
- Handheld backup: If crowds make tripod use impossible, shoot handheld at ISO 800–1600 with image stabilization on. You won’t get the long-exposure afterglow shots, but you’ll still capture the starburst and golden hour.
- Spotter tip: Ask a travel companion to stand slightly behind you during long exposures to alert you if someone is about to walk into your frame or bump the tripod.
Pro Tip: Carry a small bubble level in your kit bag. The rim at Horseshoe Bend is uneven, and a slightly tilted horizon in a canyon panorama is painful to fix in post. Two seconds with a bubble level saves 20 minutes in Lightroom.
Why sunset at Horseshoe Bend is worth every bit of the effort
Here’s my honest take: the starburst moment gets all the attention, and it deserves it. But the shot most people actually hang on their walls is the river-lit frame from 45 minutes before official sunset, when the Colorado glows copper and the canyon walls look like they’re on fire. That window is narrow, maybe 20–30 minutes of truly great light, and it disappears fast.
The trade-off is real. By the time the starburst fires, the river is already in shadow. You’re choosing between two very different images at the same location, and most photographers don’t realize that until they’re standing on the rim watching the light change faster than they expected.
Staying for the afterglow is where patience pays off. The crowds thin, the sky does something genuinely beautiful, and you get the overlook almost to yourself for a few quiet minutes. That’s the version of Horseshoe Bend that doesn’t make it onto every travel Instagram, and it’s often the most memorable part of the evening.
Traveling Portrait runs photography workshops across the American Southwest that cover exactly this kind of location-specific timing and light reading. If you want to stop guessing and start shooting with confidence, that’s where the real learning happens.
Traveling Portrait workshops and gear guides for better sunset shots
Traveling Portrait’s American Southwest photography workshop is built for photographers who want to stop leaving great shots on the table at locations like Horseshoe Bend. The workshops cover on-location light reading, exposure sequencing for extreme dynamic range, and the exact starburst and afterglow techniques covered in this guide, with hands-on instruction at the overlook itself. Participants leave knowing how to read the light window, set up a bracket sequence, and manage the dark return safely.
If you’re preparing your kit before the trip, the travel photography gear guide covers every piece of gear mentioned here, from graduated ND filter systems to headlamps rated for desert conditions. Check the workshop schedule and book your spot before peak season fills up.
Sources
- Horseshoe Bend Sunset | Tips for the Perfect Evening Visit
- Best Time to Visit Horseshoe Bend (2026): Light, Month & Hour | Slot Canyon Guide
- Sunrise and sunset times in Horseshoe Bend
- City of Page — Horseshoe Bend department information
- 9 Practical Tips for Visiting Horseshoe Bend Arizona - The Brutally Honest Traveler
Recommended
Other Posts You Might Like