Adventure Photography: Plan, Pack, and Shoot Like a Pro
Planning a great adventure shoot comes down to three things: a clear photo objective, a lean camera kit you can actually move in, and a safety-first mindset that keeps you in the field long enough to get the shot. This guide gives you exactly that.
Here’s what you’ll walk away with:
- A compact, activity-tested gear checklist covering bodies, lenses, power, and storage
- Activity-specific shooting tips for hiking, biking, snow sports, and water adventures
- An on-the-road workflow for backup, maintenance, and daily gear care
National Geographic’s guidance on adventure photography puts storytelling and the decisive moment at the center of every great image. Traveling Portrait’s workshops are built around that same principle, putting you in the field with small groups and hands-on instruction.
Key Takeaways
Adventure photography rewards preparation: a clear photo objective, a lean kit, and a safety-first plan are the three decisions that most determine whether you come home with great images or a hard lesson.
| Point | Details |
|---|---|
| Plan before you pack | Lock in photo objectives, permits, and an emergency plan before choosing a single lens. |
| Lean kit wins on trail | One body, two or three lenses, and a Deuter-style pack with camera cubes covers most active trips. |
| Safety over the shot | No image justifies putting yourself or others at risk; set a hard turnaround time every day. |
| Chase the decisive moment | A slightly imperfect frame with real emotion beats a technically perfect but flat image every time. |
| Traveling Portrait workshops | Small-group, field-first instruction in locations like Iceland and the American Southwest accelerates your skills faster than solo practice. |
Table of Contents
- What does travel insurance for adventure photography actually mean?
- How do you plan a safe, photographable adventure trip?
- What should you pack for an active photography trip?
- Shooting tips for hiking, biking, snow sports, and water
- How do you tell a story through adventure photos?
- How do you protect your gear from salt, sand, and cold?
- Three ready-to-go kits for different adventures
- What’s a smart on-the-road editing and backup workflow?
- Local drills that sharpen your adventure photography skills
- What should you look for in adventure photography workshops?
- Personal safety and first aid essentials for adventure travelers
- Insurance considerations for adventure travel and photography gear
- How to interact respectfully with wildlife and natural environments
- Legal and ethical considerations when photographing in protected areas
- How to manage changing light and weather during adventure shoots
- The case for storytelling over technical perfection
- Traveling Portrait workshops put you in the field, not a classroom
- Sources
What does travel insurance for adventure photography actually mean?
Not the policy kind. Here, “travel insurance adventure” means the full preparation stack that protects your trip, your gear, and your creative output before a single frame is shot. Think of it as the coverage you build yourself: a solid plan, the right kit, and the judgment to know when a shot isn’t worth the risk.
How do you plan a safe, photographable adventure trip?
Start with your photo objectives. Are you chasing golden-hour ridgeline light, whitewater action, or wildlife at dawn? Lock that in first, then build your schedule around it. Leave scouting windows in your itinerary, check tide tables or snow-access reports, and build in buffer time so you’re not rushing when the light gets good.
Permits matter more than most photographers expect. National parks, wilderness areas, and many scenic overlooks require commercial or even personal photography permits. Check the land manager’s website (National Park Service, Bureau of Land Management, US Forest Service) well before your trip date. Some permit windows fill weeks out.
Your emergency plan should be written down, not just in your head. Share your location, timeline, and bailout points with someone at home. Carry local emergency contacts for the region you’re shooting in, and know the nearest hospital or ranger station. For multi-day trips, a personal locator beacon (PLB) or satellite communicator like a Garmin inReach is worth the weight.
Pro Tip: Set a hard turnaround time for every shoot day and stick to it, regardless of how good the light looks. Getting caught on a trail after dark because you chased one more shot is one of the most common adventure travel safety mistakes photographers make.
What should you pack for an active photography trip?
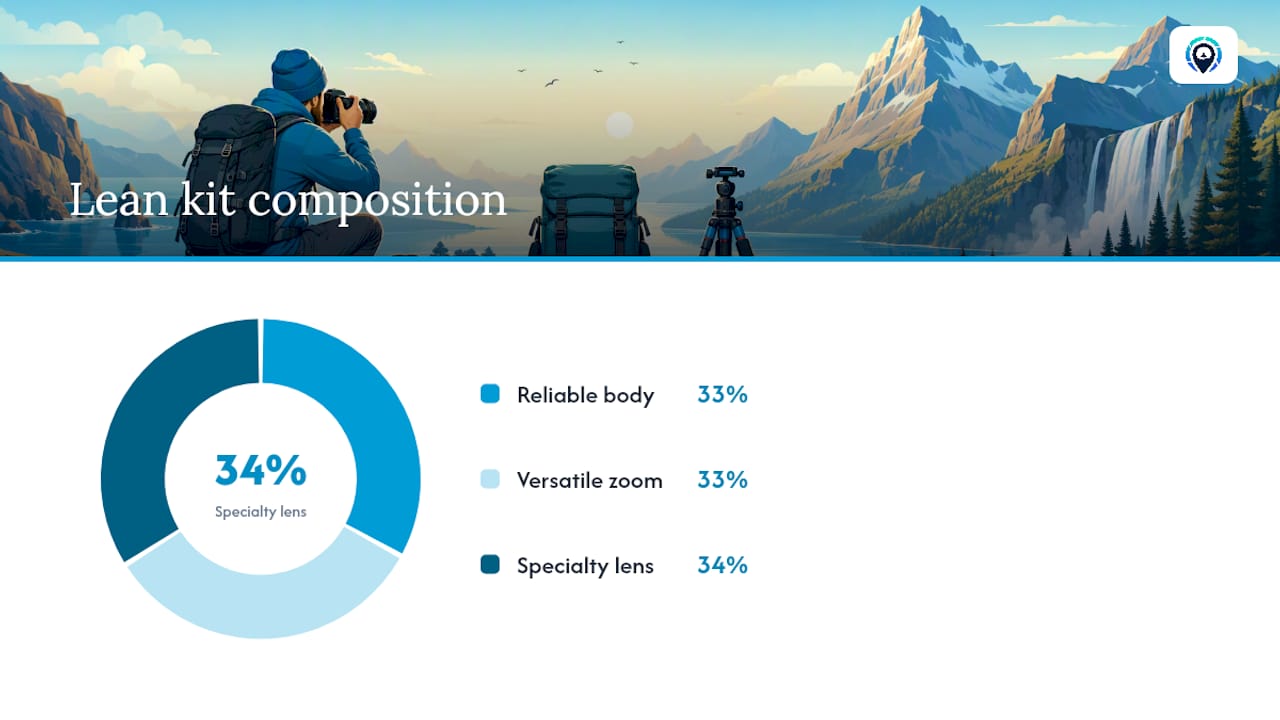
The Manual’s lean kit strategy is the right starting point: one reliable body, one versatile zoom, and one specialty lens. That’s it for most trips. Every extra piece of glass is weight you’ll feel on mile four of a trail.
Camera bodies: Weather sealing is non-negotiable for active outdoor work. The Sony Alpha 7 IV hits a sweet spot of full-frame image quality, reliable autofocus, and manageable weight. The Sony Alpha 7R V adds resolution for landscape and wildlife detail. The Sony Alpha 1 offers a very high burst rate suited to fast action, though it’s heavier and pricier. For weight-critical trips, an APS-C body is a legitimate choice.
Lenses to consider:
- Sony 16-35mm f/2.8: wide environmental frames, tight spaces, and dramatic foreground work
- Sony 24-70mm f/2.8: the all-purpose workhorse that covers most situations
- Sony 70-200mm f/2.8: reach for wildlife, compressed landscapes, and isolating subjects from a safe distance
- Sony 14mm f/1.8: astrophotography and ultra-wide environmental storytelling
Bags and support: A Deuter Jaypack-style adventure pack with a camera cube insert keeps load distribution natural and your back comfortable on long days. Modular camera cubes inside a hiking pack beat a dedicated camera bag for multi-day trips where you’re also carrying food, water, and layers. A compact carbon-fiber tripod or a monopod covers most support needs without killing your back.
Power and storage: Carry multiple batteries per body to ensure a full shoot day is covered. A small USB-C power bank handles top-ups on the trail. Use two SD cards in dual-slot bodies and swap one out each morning so you always have a previous day’s backup in a separate pocket. The Traveling Portrait gear checklist covers this in more detail.
| Kit Category | Body | Lenses | Approximate Camera Weight |
|---|---|---|---|
| Ultra-light day hiker | Sony Alpha 7 IV | 24-70mm f/2.8 | Lightweight |
| Multi-day backpacker | Sony Alpha 7 IV + spare | 16-35mm + 70-200mm | Moderate weight |
Pro Tip: Test every piece of gear on a local hike before your trip. Discovering that your camera clip digs into your hip or your lens hood rattles at home is far better than finding out at the trailhead.
Shooting tips for hiking, biking, snow sports, and water
ExpertPhotography’s complete adventure guide makes a point that’s easy to underestimate: being a participant, not just an observer, gives you access to moments that a photographer standing on the sidelines simply can’t get. Get in the activity, then shoot.
Hiking: Keep your camera on a chest clip or hip pack, not buried in your bag. You’ll miss the shot if you have to stop and dig it out. Scout ahead of your subject when possible, find your frame, then let them walk into it.
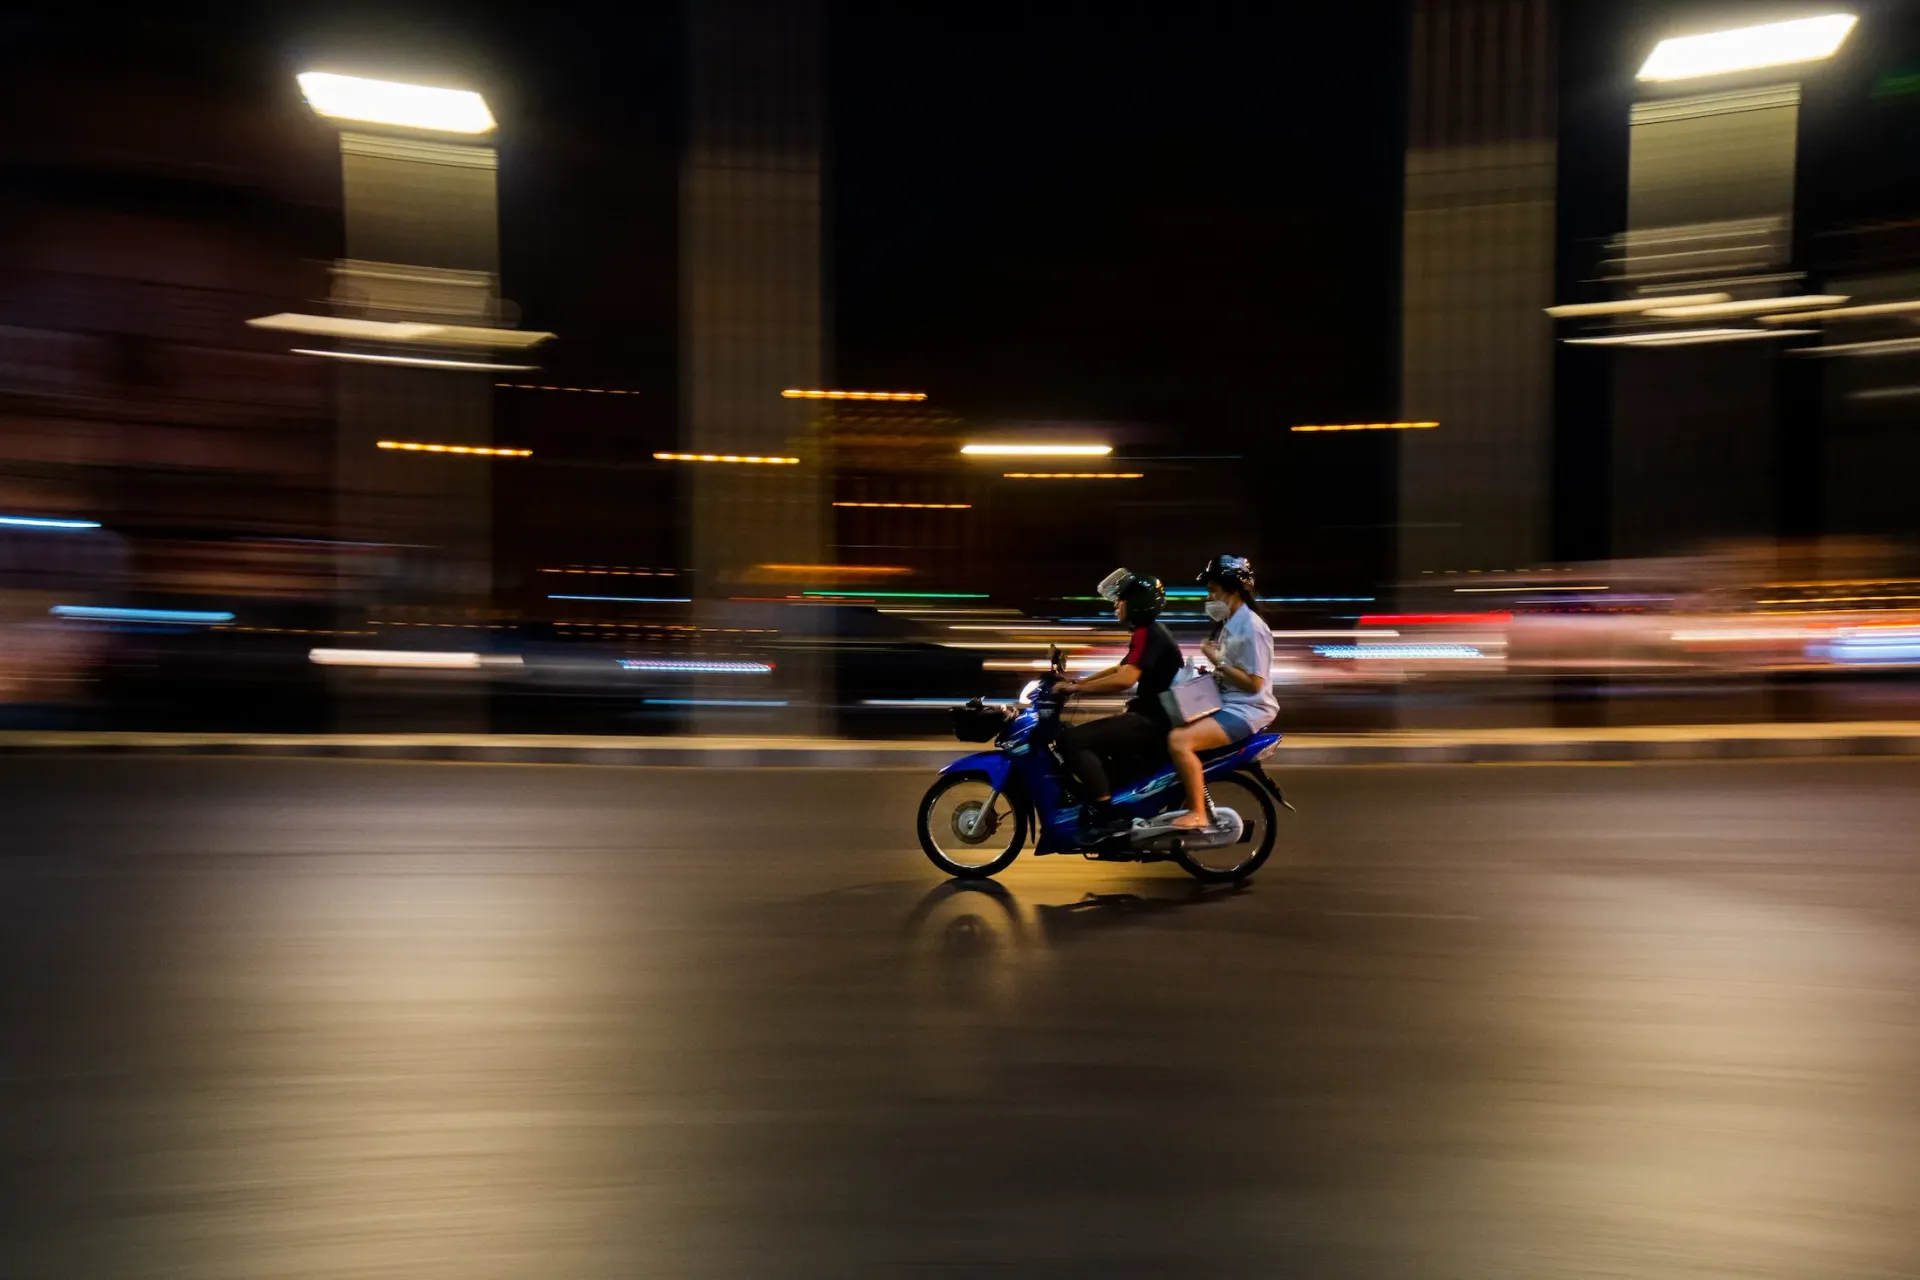
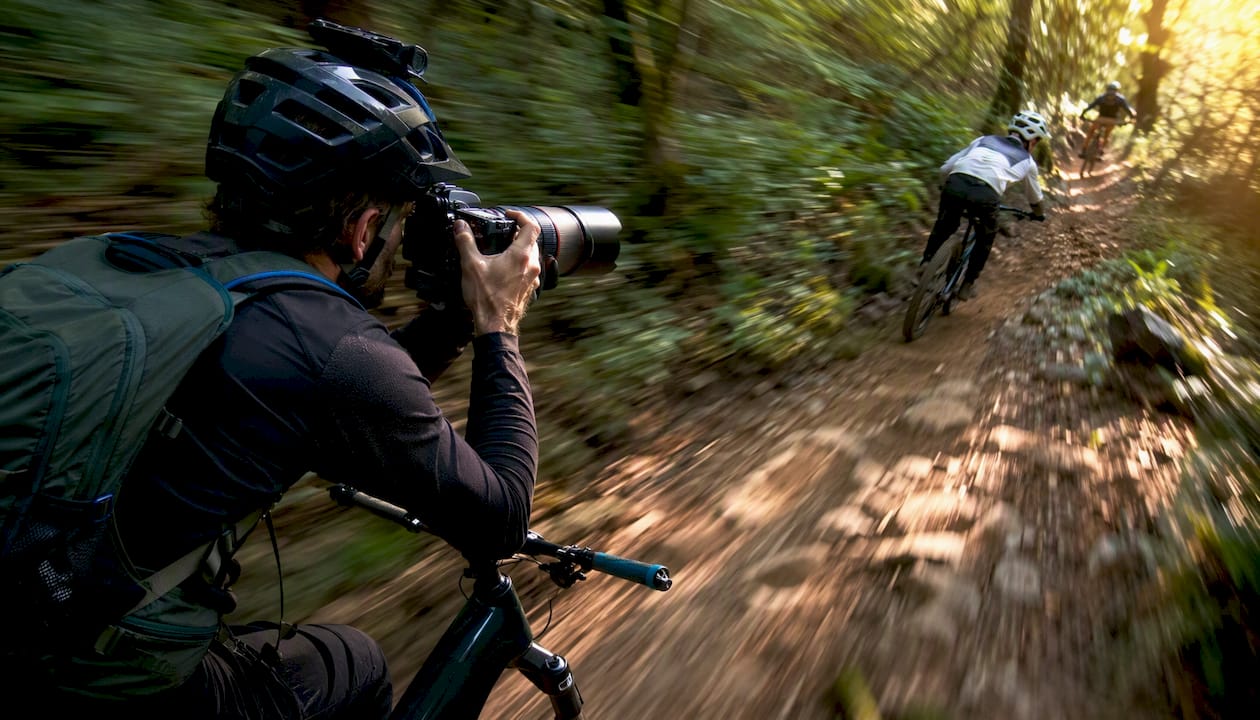
Biking: A 70-200mm lens lets you shoot from a safe distance while compressing the trail behind the rider. For action, set your shutter speed fast enough to freeze most action. Panning shots at 1/250s can create dramatic motion blur in the background while keeping the rider sharp.
Snow sports: Cold kills batteries faster than almost anything else. Keep a spare battery in an inner pocket against your body. Glove-friendly camera controls matter here; the Sony Alpha series dials are large enough to manage with thin liner gloves. Be aware of avalanche terrain and always follow your guide’s instructions before pointing a camera anywhere.
Water and boating: A waterproof housing or a dry bag with a clear front panel protects your body. The Sony 16-35mm f/2.8 is the right choice on a raft or kayak because it keeps you close to the action without needing reach. Rinse salt water off your gear with fresh water the same day.
How do you tell a story through adventure photos?
National Geographic’s photography guidance is clear: a slightly imperfect shot that captures genuine intensity beats a technically flawless but emotionally flat image every time. Chase the decisive moment, not the perfect histogram.
Use low angles to show scale. Shoot from ground level with a wide lens and let the mountain, wave, or trail fill the frame behind your subject. Foreground elements, rocks, wildflowers, gear, add depth and context that tell the viewer where they are.
A practical shot list for any adventure sequence:
- Wide environmental frame that establishes location and scale
- Medium action shot showing the subject engaged in the activity
- Close detail shot (hands on rock, boots on snow, paddle in water)
- Reaction or emotion shot after the moment
City Love’s action photography guide recommends a 1/1000s baseline shutter speed for most action, stepping up to 1/2000s or faster for high-speed subjects. Lock your shutter speed and aperture, then let Auto ISO handle the exposure as light shifts. Set a maximum ISO ceiling (typically ISO 6400 on a Sony Alpha 7 IV) so the camera doesn’t push into unusable noise.
Pro Tip: Vary your focal length across a scene rather than shooting everything at 24mm. A sequence that moves from 16mm to 70mm to 200mm tells a richer story than a dozen frames at the same distance.
How do you protect your gear from salt, sand, and cold?
Daily gear care takes five minutes and prevents expensive failures. After any beach, boat, or surf session, wipe down your body and lenses with a damp microfiber cloth, then a dry one. Blow out sand from mount contacts and ports with a hand blower, never compressed air cans, which can force particles deeper.
Cold-to-warm transitions cause condensation inside your gear. When coming in from a cold shoot, put your camera in a sealed zip-top bag before entering a warm space. Let it equalize to room temperature inside the bag before opening it. Silica gel packs in your camera bag absorb residual moisture overnight.
Pro Tip: A few zip-top freezer bags and a handful of silica packs weigh almost nothing and have saved more than a few cameras from condensation damage on winter trips.
Three ready-to-go kits for different adventures
Alpha Universe’s creator kit roundups consistently show the same pattern: one body, two or three lenses, and a clear rationale for each choice based on the trip type.
Hiker kit: Sony Alpha 7 IV + Sony 24-70mm f/2.8. Add the 16-35mm if you’re shooting landscapes or tight canyon walls. Keep it in a camera cube inside your Deuter pack.
Winter kit: Sony Alpha 7R V + Sony 24-70mm f/2.8 + Sony 70-200mm f/2.8. The 7R V’s resolution captures snow texture and mountain detail beautifully. Weather sealing handles the cold and moisture. Carry in a chest-accessible harness system so you’re not digging through a pack with gloves on.
Wildlife kit: Sony Alpha 1 + Sony 70-200mm f/2.8 + Sony 14mm f/1.8. The Alpha 1’s 30fps burst rate and fast autofocus tracking are built for this. A monopod keeps the 70-200mm steady during long waits without the full commitment of a tripod.
| Kit | Camera Weight Range | Primary Use Case |
|---|---|---|
| Hiker | Lightweight | Day hikes, trail portraits, landscapes |
| Winter | Moderate weight | Snow sports, mountain environments |
| Wildlife | Moderate weight | Safari, birding, fast animal action |
What’s a smart on-the-road editing and backup workflow?
Simple backup rule: one primary card in the camera, one copy in a separate pocket or pack each day, and a nightly transfer to a portable SSD when you have power. If you’re in a location without reliable electricity, the card copy is your safety net. Bucket List Mermaid’s adventure photography guide recommends at least one redundant copy at all times.
- At the end of each shoot day, copy your primary card to a portable SSD.
- Cull your selects in Lightroom Mobile or your preferred app, flagging keepers only.
- Apply basic exposure and white balance corrections to selects.
- Export small JPEGs for sharing or client previews; leave full edits for home.
- Charge all batteries overnight and check storage capacity before sleeping.
Pro Tip: A 1TB portable SSD weighs about 2 ounces and fits in a shirt pocket. There’s no good reason to skip the nightly backup.
Local drills that sharpen your adventure photography skills
You don’t need a mountain to practice. Local sports events, neighborhood trails, and urban rivers simulate the timing, framing, and decision-making pressure of expedition shooting. The goal is to build muscle memory so gear handling becomes automatic when conditions get demanding.
Try these challenges before your next trip:
The single-lens constraint challenge is particularly useful. Pick your 24-70mm and shoot an entire local hike without swapping glass. You’ll learn exactly what that focal range can and can’t do, which makes your in-field decisions faster and more confident.
For light practice, set your camera to Auto ISO with a maximum of ISO 3200 and shoot a two-hour window that crosses from bright sun into shade. Review how the camera handled transitions and adjust your ceiling based on what you see.
What should you look for in adventure photography workshops?
Good workshops deliver small groups (typically six or fewer participants), real on-location shooting time, constructive critique sessions, and clear safety protocols for the environment you’re shooting in. A workshop that keeps you in a classroom most of the day isn’t an adventure photography workshop.
Questions worth asking before you book:
- What’s the maximum group size?
- How many hours per day are spent shooting in the field?
- What’s the weather contingency plan?
- What kit does the leader recommend, and why?
- Does the leader have first-aid or wilderness safety training?
Traveling Portrait’s photography workshops are built around exactly this model: small groups, field-first instruction, and locations like Iceland and the American Southwest that push your skills in genuinely challenging conditions. Self-led practice is valuable, but guided field time with real-time feedback compresses your learning curve significantly.
Personal safety and first aid essentials for adventure travelers
Carry a compact first-aid kit on every trip. At minimum: blister treatment, an elastic bandage, antiseptic wipes, and any personal medications. For remote or multi-day trips, add a SAM splint, a tourniquet, and a course in Wilderness First Aid (WFA) from a provider like NOLS or SOLO Schools.
Hydration and nutrition are safety issues, not just comfort ones. Dehydration impairs judgment, which leads to bad decisions in the field. Carry more water than you think you need and eat before you’re hungry on long shoot days.
Sun and cold exposure are underestimated risks. A UV-blocking sun shirt, a warm mid-layer, and a waterproof shell cover most scenarios. Check weather forecasts the morning of every shoot day and build in a bailout plan if conditions change.
For trip risk transfer, reviewing travel insurance basics before any international adventure trip is worth your time, particularly for trips involving remote locations or technical activities.
Insurance considerations for adventure travel and photography gear
Your homeowner’s or renter’s insurance policy likely covers camera gear at home but not in the field, and almost certainly not for adventure activities. A dedicated camera equipment policy through a provider like Athos or PPA covers theft, accidental damage, and sometimes weather damage while traveling.
For the trip itself, travel insurance policies vary widely in what they cover for active pursuits. Standard policies often exclude activities like rock climbing, backcountry skiing, or whitewater rafting unless you add an adventure sports rider. Read the exclusions carefully before you buy. The Elite Travel resource on travel insurance for incentive travel breaks down what to look for in a policy when your trip involves elevated risk.
Medical evacuation coverage is the one line item worth prioritizing above all others on remote trips. A helicopter evacuation from a backcountry location can cost tens of thousands of dollars out of pocket.
How to interact respectfully with wildlife and natural environments
Stay on marked trails and established viewpoints. Cutting switchbacks and trampling vegetation for a better angle causes lasting damage and, in many parks, carries fines. The “leave no trace” principle applies to photographers as much as hikers.
For wildlife, the rule is simple: if your presence changes the animal’s behavior, you’re too close. Use your 70-200mm or longer to maintain a respectful distance. Never bait, call, or use playback recordings to attract wildlife for a shot. It stresses animals and is illegal in many protected areas.
Legal and ethical considerations when photographing in protected areas
Commercial photography in US national parks requires a permit, and the definition of “commercial” is broader than most photographers expect. If you plan to sell prints, license images, or use photos in any promotional material, you likely need a permit. Personal photography for non-commercial use is generally allowed without one, but check each park’s specific rules.
Drone use is prohibited in most US national parks without a special use permit, which are rarely granted. State parks and BLM land have their own rules. Always check before you fly.
Model releases are required for any identifiable person in a photo used commercially. In wilderness areas, photograph other visitors respectfully and ask permission when in doubt.
How to manage changing light and weather during adventure shoots
Golden hour is roughly 30–60 minutes after sunrise and before sunset, and it moves fast. Know your location’s exact sunrise and sunset times (apps like PhotoPills or The Photographer’s Ephemeris are built for this) and be set up at least 20 minutes before the light peaks.
Overcast days are underrated for adventure photography. Soft, diffused light flatters faces and reduces harsh shadows in forest or canyon environments. Adjust your white balance toward the cooler end and lean into the mood.
When weather changes quickly, which it does in mountain and coastal environments, your exposure triangle needs to respond just as fast. Locking shutter speed and aperture while letting Auto ISO adjust is the most practical approach for keeping the decisive moment in focus when conditions shift. Set your ISO ceiling based on your body’s clean high-ISO performance and trust it.
The case for storytelling over technical perfection
Most photographers who are new to adventure work spend too much time chasing sharp images and not enough time chasing meaningful ones. The Traveling Portrait travel blog is full of examples where the most memorable frame from a trip is the one that captures effort, emotion, or scale, not the one with the cleanest histogram.
The gear matters, the technique matters, and the planning matters. But none of it replaces the judgment to recognize a moment worth capturing and the courage to be in the right place when it happens.
Traveling Portrait workshops put you in the field, not a classroom
Traveling Portrait’s travel photography workshops are designed for exactly the kind of photographer this guide is written for: someone who wants to shoot real adventures, not studio setups. Small groups, field-first instruction, and locations that challenge your skills are the foundation.
What you get:
- Hands-on shooting time in genuinely demanding environments
- Real-time feedback from experienced workshop leaders
- Safety-first field protocols built into every session
Ready to put this guide into practice? Check availability and book your spot at the Traveling Portrait workshop page.
Sources
- Action and Adventure Photography Tips – National Geographic | National Geographic
- What to pack for adventure photography - The Manual
- The Complete Guide to Adventure Photography — ExpertPhotography
- Outdoor photography kit essentials — Alpha Universe (Sony)
- Adventure Photography: How to Capture Action Shots on the Move - City Love
Recommended
Other Posts You Might Like