Aerial Adventure Photography: What It Is and How to Do It
Aerial adventure photography is the art of capturing images from elevated perspectives while you’re actively part of the adventure itself. Not a bystander with a drone controller standing safely on the ground, but a genuine participant, whether you’re leaning out of a helicopter door, shooting from a small bush plane, or framing a shot from a paraglider. It blends technical aerial photography methods with immersive storytelling, and the results are something ground-level photography simply can’t replicate.
A few things define this genre right from the start:
- Participant perspective: You’re in the adventure, not watching it.
- Elevated vantage points: Drones, helicopters, fixed-wing aircraft, or other airborne platforms.
- Dynamic composition: Moving subjects, shifting light, and unpredictable environments.
- Contextual storytelling: The goal is to show the full experience, not just a dramatic highlight.
- Planning and timing: Early morning light, weather windows, and pre-visualized shots matter enormously.
What is aerial adventure photography, and what techniques make it work?
The two perspectives every aerial photographer needs to understand are the nadir and the oblique. The nadir shot points the camera straight down, turning rivers, fields, and city blocks into abstract patterns. The oblique angle tilts the gimbal or camera at roughly 30–45 degrees, preserving depth and giving the landscape a sense of scale that pure top-down shots lose. Most compelling aerial images use both across a shoot.
Lighting is where a lot of photographers get caught out. Midday sun flattens everything from above, washing out texture and contrast. Shooting at golden hour, either early morning or late afternoon, gives you shadows that reveal terrain and warmth that makes colors pop. For high-contrast landscapes where the sky is bright and the ground is dark, HDR bracketing captures several frames at different exposures to blend in post to blend in post, recovering detail in both ends of the tonal range.
Pre-visualization is what separates a professional-grade aerial image from a lucky snapshot. Mentally planning the shot before you’re airborne means you already know the angle, the focal length, and the moment you’re waiting for. When it arrives, you act. Continuous burst mode is your safety net here, letting you fire a rapid sequence as you fly past a subject and choose the best-framed image back at your editing desk.
- Nadir angle: Straight down for abstract patterns and geometry.
- Oblique angle: a moderate tilt preserving depth and landscape scale to preserve depth and landscape scale.
- Golden hour timing: Avoids flat midday light and reveals terrain texture.
- HDR bracketing: 3–5 exposure frames to manage high-contrast scenes.
- Burst mode: Compensates for aircraft motion and horizon drift.
- Leading lines and rule of thirds: Classic composition rules apply just as strongly from the air.
Pro Tip: Blend nadir and oblique shots from the same location. The contrast between an abstract top-down pattern and a depth-rich oblique view tells a richer story than either angle alone.
Why being part of the adventure changes everything
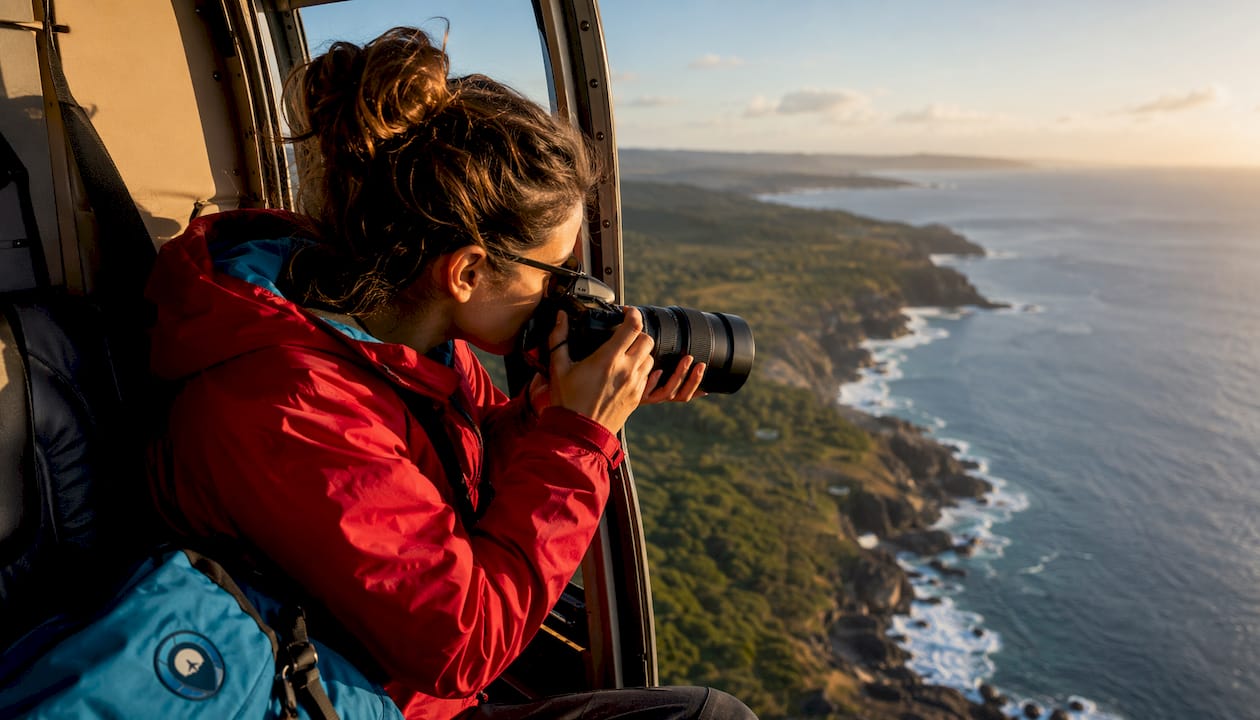
Adventure photography is exclusively shot by participants. That’s not a stylistic preference; it’s what defines the genre. When you’re actually in the helicopter, actually cold, actually watching the glacier pass beneath you, your images carry something a remote operator’s drone footage doesn’t: genuine presence.
Being a participant gives you a front-row seat to moments as they unfold. You notice the light changing, feel the turbulence, and sense when something worth photographing is about to happen. That anticipation is what produces emotionally honest images rather than technically correct ones.
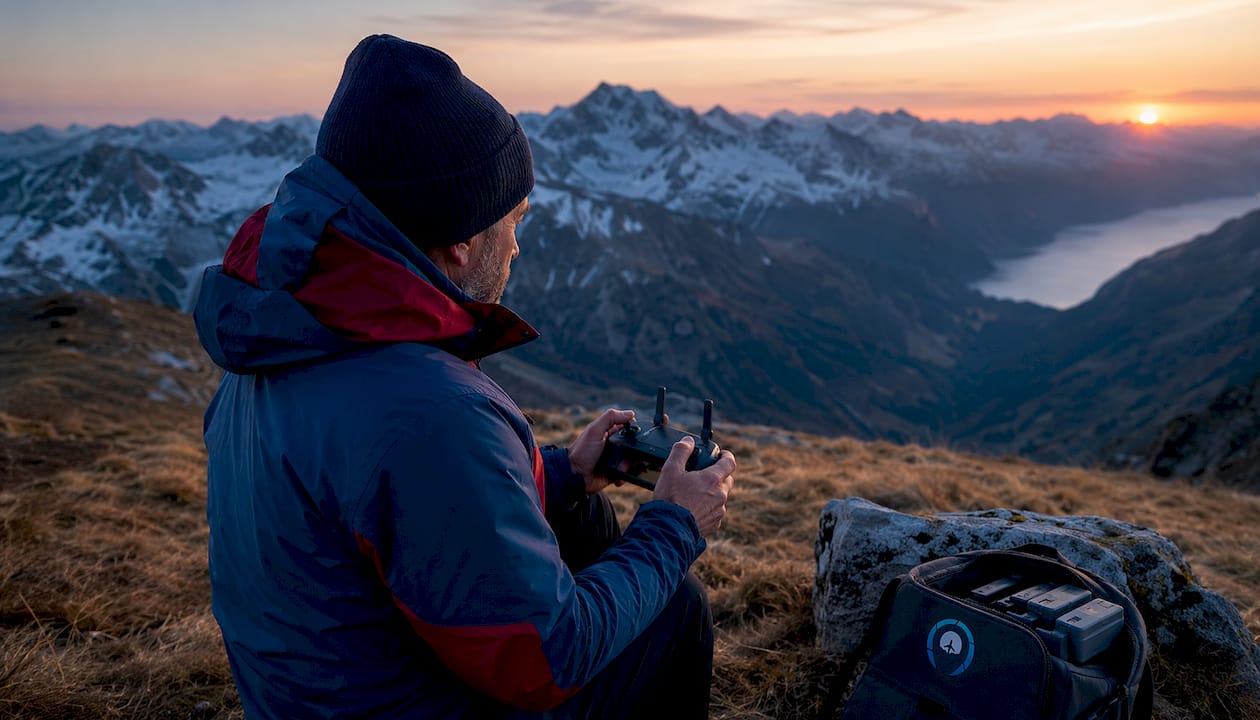
The storytelling goal in aerial adventure photography isn’t to collect the most dramatic frame. It’s to represent the whole experience, the buildup, the environment, the human element, and the feeling of being there. Pre-trip mental rehearsal of your shot list helps keep that narrative coherent across a full shoot, so your images work together as a story rather than a collection of disconnected highlights. Traveling Portrait’s adventure travel blog covers this participant-first philosophy across destinations worldwide.
Common misconceptions about aerial photography and how composition actually works
The biggest myth in aerial photography is that altitude equals quality. Flying higher doesn’t automatically produce better photos. The real value lies in perspective, specifically in revealing patterns, textures, and relationships between elements that are invisible from the ground. A shot taken at 200 feet with strong compositional intent will beat a shot taken at 2,000 feet with none every time.
From above, the classic composition rules don’t disappear; they just apply differently. Leading lines become rivers, roads, and coastlines drawing the eye through the frame. The rule of thirds works beautifully when you place a mountain peak or a lone structure at an intersection point. Symmetry and framing become powerful tools when you’re looking down at geometric fields or circular hot springs.
Atmospheric haze is a real challenge at altitude, and it gets worse the longer your focal length. Lightroom’s Dehaze slider is the most practical fix in post-processing, though it needs a careful hand to avoid an artificial look. Motion blur and horizon misalignment are the other common pitfalls. Burst mode handles the first; reviewing test shots early in the flight catches the second before you’ve burned through your whole session.
- Altitude myth: Higher isn’t better. Perspective quality beats altitude every time.
- Hidden patterns: Aerial views reveal geometry and texture invisible from the ground.
- Rule of thirds: Place key subjects at grid intersections, even from above.
- Leading lines: Rivers, roads, and shorelines guide the viewer’s eye naturally.
- Haze management: Address it in post with Dehaze rather than fighting it in-camera.
- Horizon alignment: Check early test shots to catch tilt before it ruins a full session.
What gear do you actually need for aerial adventure photography?
The a versatile standard zoom lens covering a moderate focal length range is the single most recommended lens for aerial work, and for good reason. It’s wide enough to capture sweeping landscapes without pulling helicopter skids into the frame, and long enough to isolate a subject without needing to get dangerously close. Changing lenses mid-flight is often impossible, so your pre-flight lens choice is a commitment.
Shooting from piloted aircraft adds physical demands that drone photography doesn’t. Unheated cabins, motion sickness risk, and strict safety protocols around loose gear are all real factors. Doors-off flights give you the best compositional freedom and eliminate glare, but they’re expensive and require securing every piece of gear before takeoff. Shooting through a window is more affordable and widely available, though you’ll need to press the lens hood against the glass to cut reflections.
For location scouting, Google Earth is genuinely one of the most useful tools available. Aerial photographers use it to identify unusual terrain features, plan flight routes, and estimate where the light will fall at different times of day. Cold weather, high wind, and rapidly changing light are the environmental variables that will test your preparation most.
- Lens choice: A a versatile standard zoom lens covering a moderate focal length range covers most aerial scenarios without a swap.
- Burst mode: Use it as a composition tool, not just for action.
- Doors-off flights: Best freedom, but costly and require strict gear security.
- Window shooting: More affordable; use a lens hood to cut glare.
- Location scouting: Google Earth helps plan routes and identify terrain features.
- Cold and wind: Dress for the aircraft environment, not just the destination.
Pro Tip: Bring a second camera body already set to your backup settings. When doors are off, you cannot swap batteries or memory cards mid-flight, so a second body ready to go is the difference between a lost shot and a saved one.
How to edit aerial images for maximum impact
Aerial images present a specific set of post-processing challenges. Haze, flat color, and horizon drift are the most common, and each has a reliable fix. In Adobe Lightroom, the Dehaze slider is your first stop for haze, followed by a bump in Clarity to restore mid-tone contrast. Pull the Highlights down and lift the Shadows to recover detail in high-contrast scenes where HDR bracketing wasn’t possible.
Color grading aerial shots tends to reward restraint. The natural palette of landscapes from above, earth tones, deep blues, and greens, reads best with subtle saturation adjustments rather than heavy presets. Straightening the horizon is non-negotiable; even a one-degree tilt reads as sloppy at full resolution. Crop for composition last, using the rule of thirds grid to reframe if burst mode gave you a slightly off-center subject.
For nadir shots with strong geometric patterns, a black-and-white conversion can strip away distracting color and let the shapes carry the image entirely.
Staying ethical in the air: privacy, wildlife, and the environment
Flying over people without consent raises real privacy concerns, and in the United States, the FAA’s drone regulations set minimum altitude and no-fly zone rules that apply regardless of your artistic intent. Residential areas, crowds, and private property all require extra caution. The general principle is simple: if you wouldn’t be comfortable with someone filming you from that angle, don’t do it to others.
Wildlife disturbance is a serious issue that aerial photographers underestimate. Low passes over nesting birds, marine mammals, or sensitive habitat can cause animals to abandon nests, separate from young, or flee into dangerous terrain. The standard practice is to maintain significant altitude above wildlife, avoid repeated passes, and check whether the area has seasonal restrictions before you fly.
The environmental footprint of helicopter and fixed-wing flights is also worth acknowledging. Grouping multiple shots into a single flight, planning routes efficiently, and choosing drone operations where they’re sufficient all reduce unnecessary emissions. Traveling Portrait’s approach to adventure travel planning consistently factors in environmental responsibility alongside creative ambition.
Key Takeaways
Aerial adventure photography produces its most powerful images when participant presence, deliberate composition, and pre-visualized storytelling work together rather than any single factor alone.
| Point | Details |
|---|---|
| Participant perspective is the foundation | Genuine aerial adventure photography is shot by participants in the adventure, not remote operators. |
| Oblique angles beat pure altitude | A moderate tilt preserving depth and landscape scale preserves depth and scale better than flying higher ever will. |
| Pre-visualization drives decisive shots | Mentally planning your frames before takeoff is what separates professional images from lucky ones. |
| The versatile standard zoom lens covering a moderate focal length range is your workhorse lens | It covers most aerial scenarios without a mid-flight swap, which is often impossible anyway. |
| Post-processing fixes what the air creates | Lightroom’s Dehaze slider and horizon straightening tools address the most common aerial image problems. |
Recommended
Other Posts You Might Like