Travel photography is defined as a broad genre that blends landscape, street, portrait, documentary, wildlife, food, and architectural photography into a single discipline. Mastering the types of travel photography styles is what separates a snapshot taker from a storyteller. Professional portfolios often require proficiency in at least 5–7 different styles for feature-level assignments. That’s not intimidating. It’s actually exciting, because every trip becomes a chance to flex a different creative muscle and build a portfolio that genuinely reflects a destination.
1. Types of Travel Photography Styles You Need To Know
Travel photography is interpretive by nature, blending technical accuracy with aesthetic choices to evoke the spirit of a place. That’s what makes it different from neutral documentary work. The styles below each serve a distinct storytelling purpose, and knowing all of them gives you real creative freedom on any trip.
2. Landscape Travel Photography
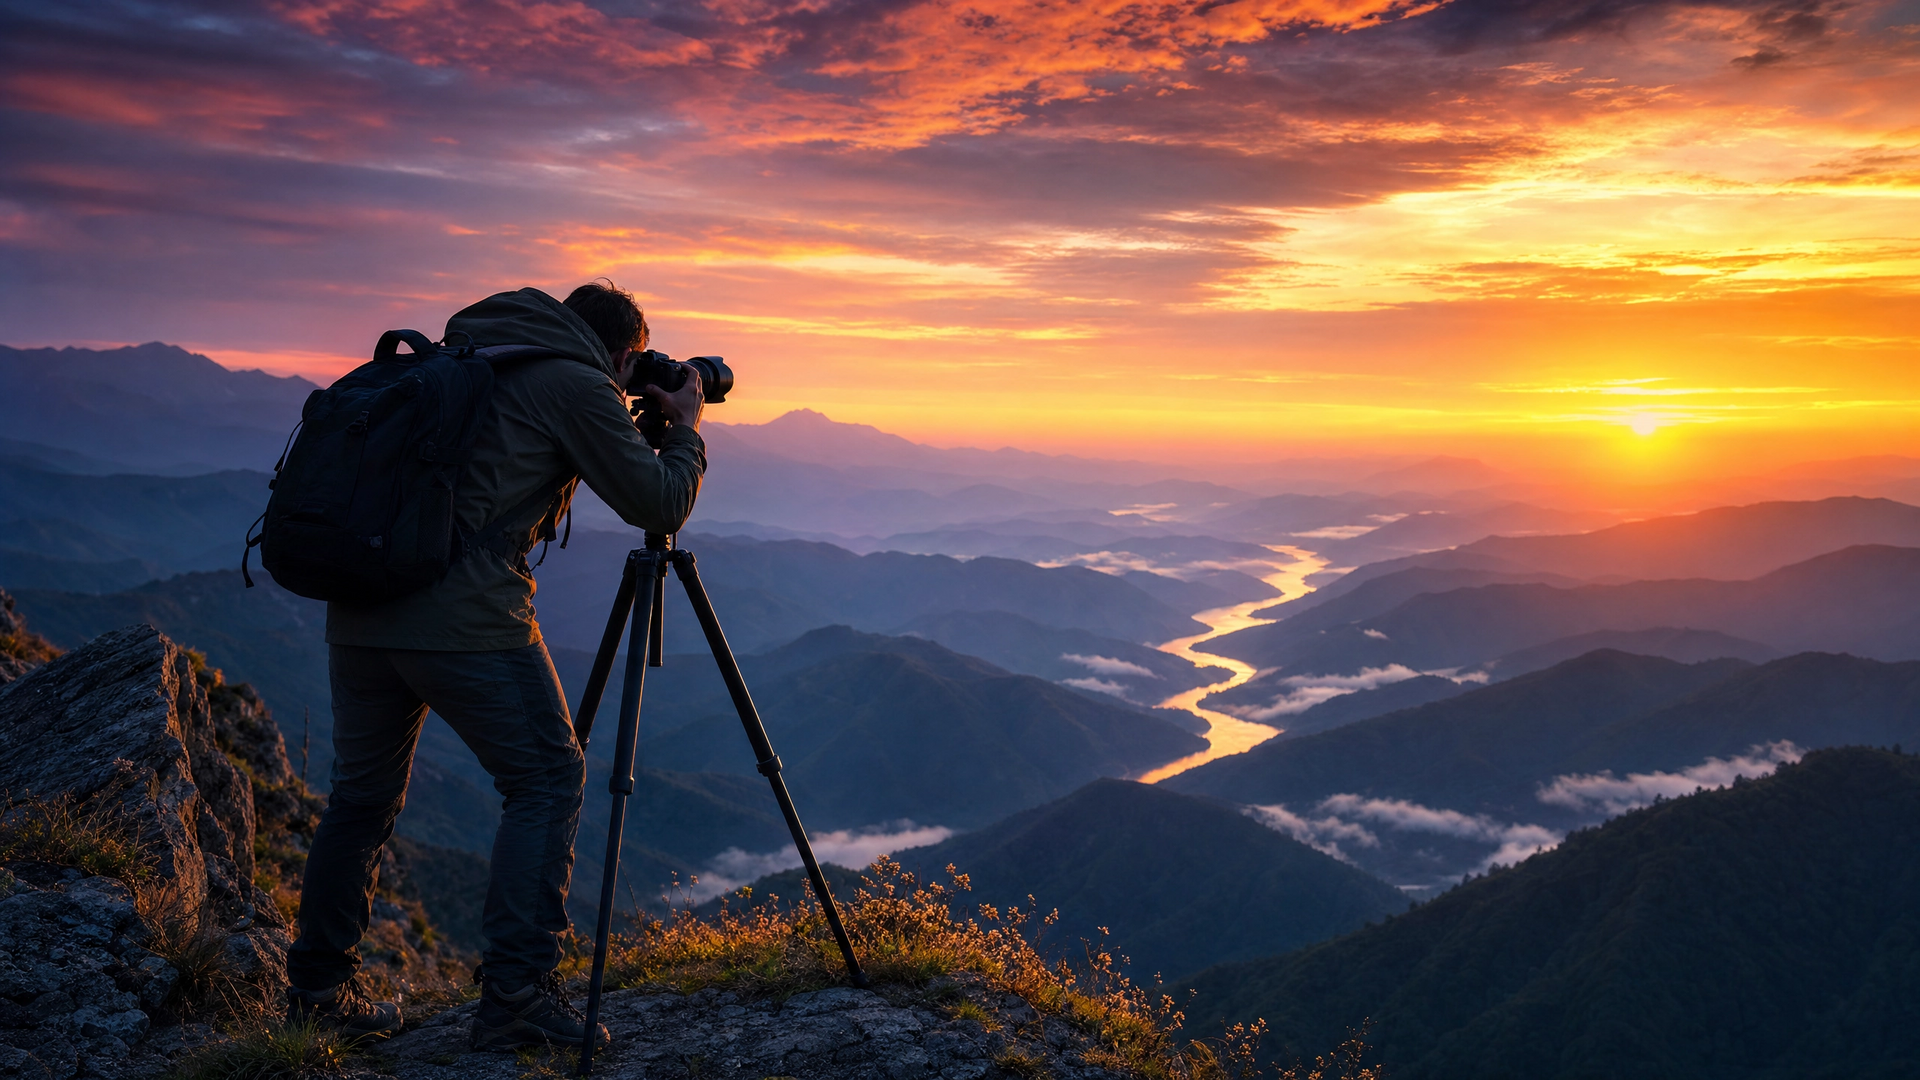
Landscape photography captures natural vistas, dramatic skies, and the raw scale of a destination. It’s the style most people picture when they think of travel photography, and for good reason. Arriving 30–60 minutes before sunrise yields unique lighting and crowd-free scenes that midday shooting simply can’t replicate. That window of golden light transforms an ordinary hillside into something that stops people mid-scroll.
The technical sweet spot for landscapes sits at ISO 100–200 with apertures of f/8–f/11 for maximum depth of field. A tripod is non-negotiable for long exposures at dawn or dusk. Polarizing filters cut glare on water and deepen blue skies without any post-processing tricks.
Pro Tip: Shoot the same location at blue hour (just after sunset) and golden hour (just before sunrise) on the same trip. The color difference between the two is dramatic and gives you two completely different images from one spot.
3. Street Travel Photography
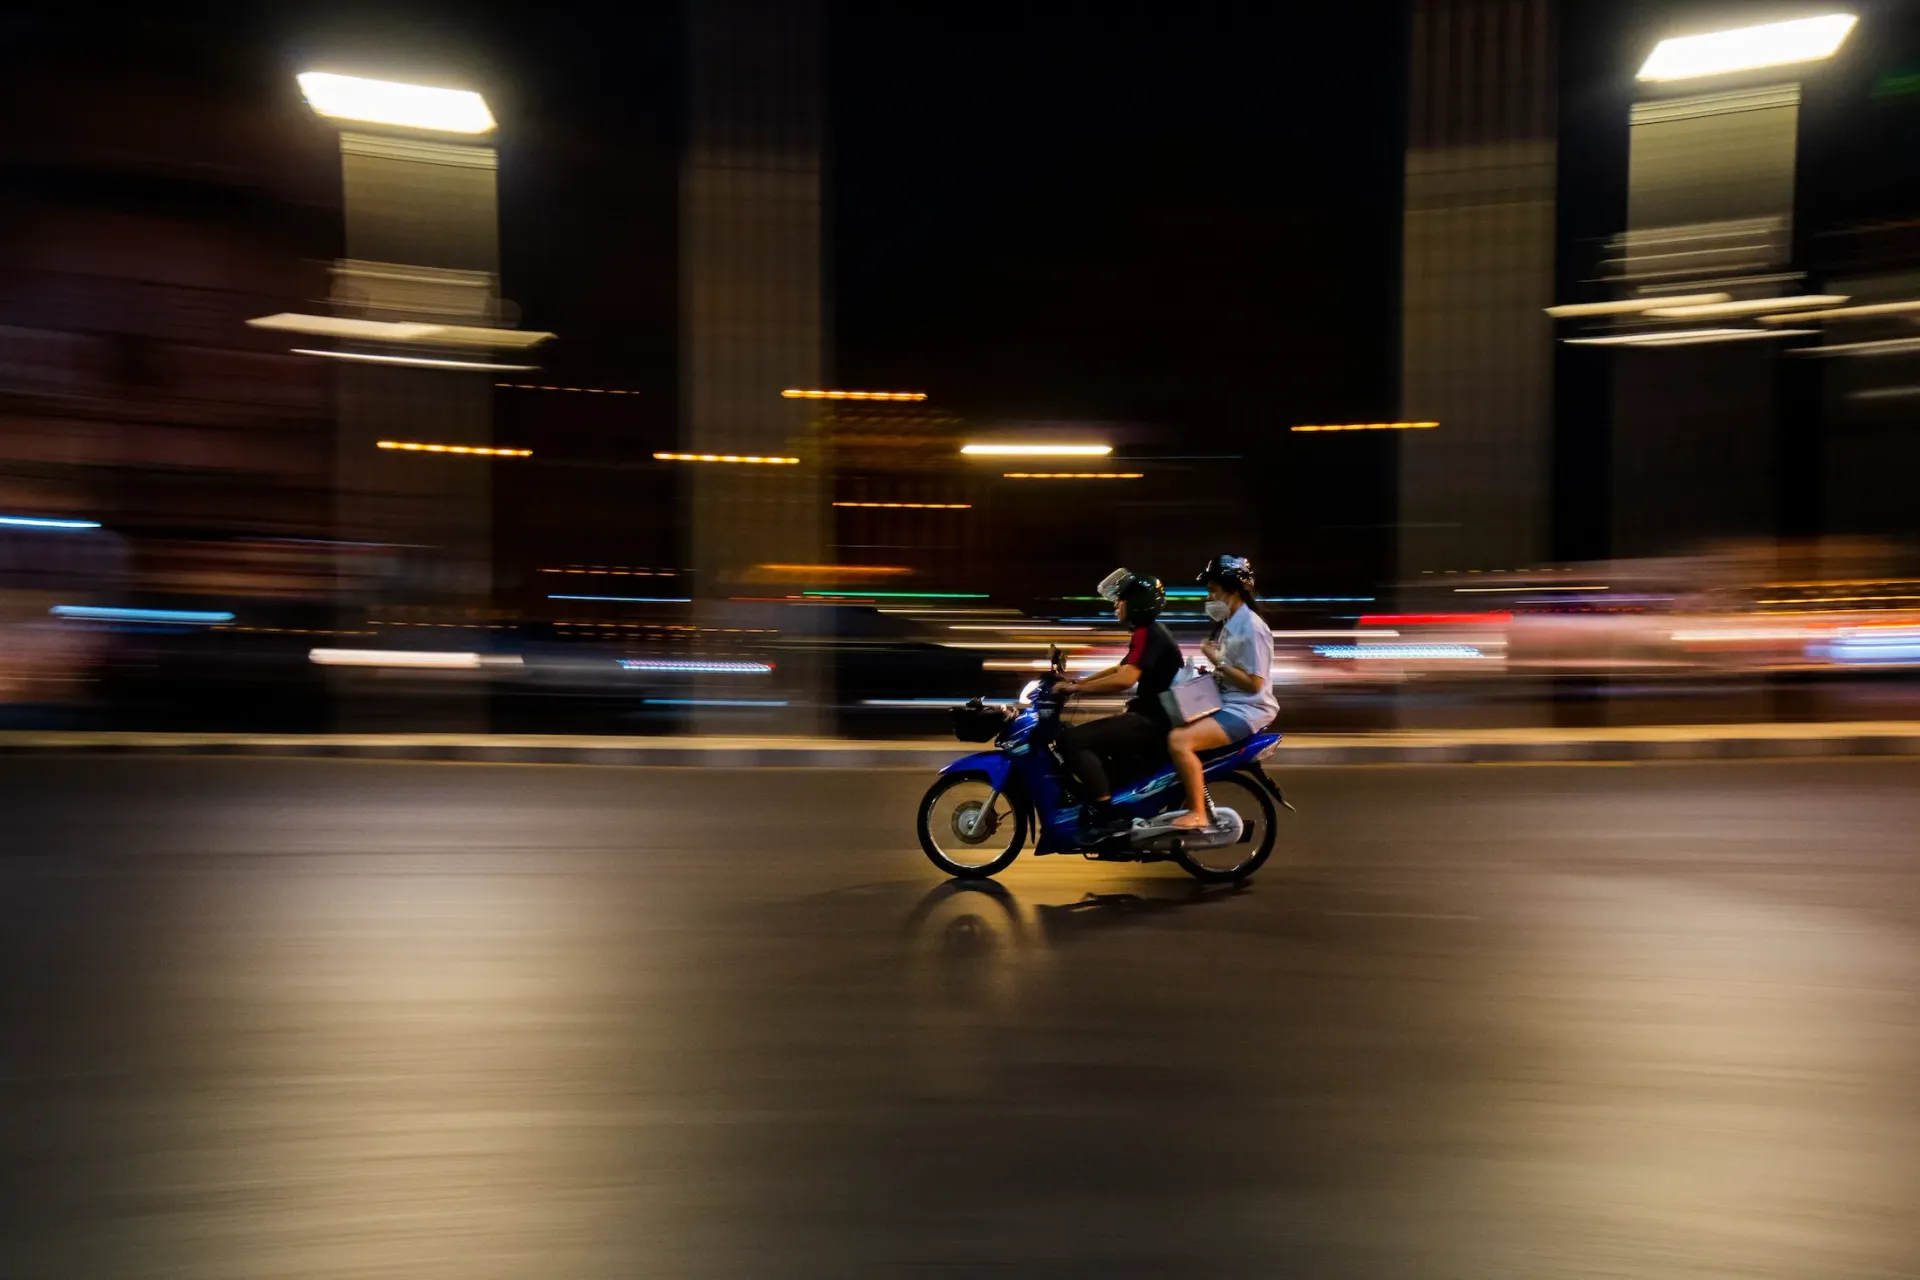
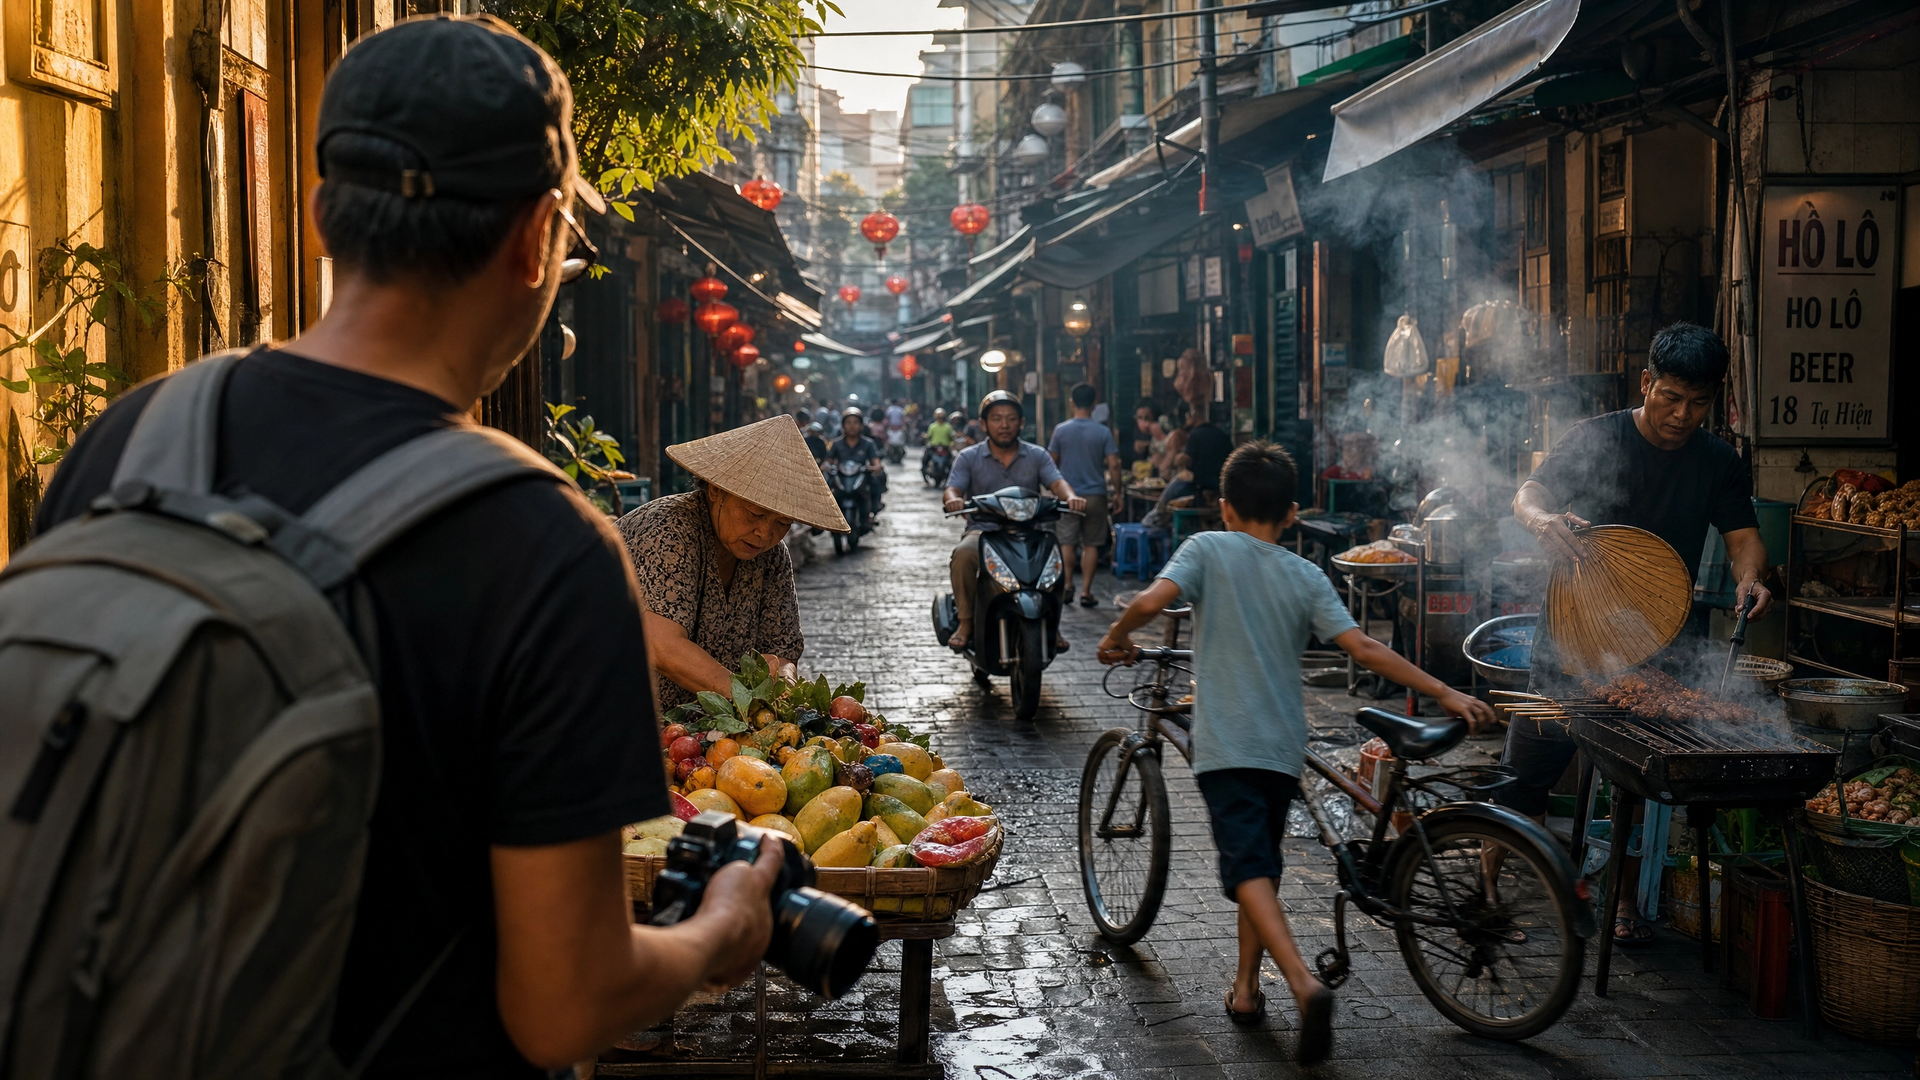
Street photography is the style that captures the pulse of a city. It’s candid, fast, and deeply cultural. You’re looking for unposed moments: a vendor arranging fruit, kids chasing each other through a narrow alley, a commuter lost in thought. These images tell the story of daily life in a way that no posed shot ever could.
The gear here is simple. A 35mm or 50mm prime lens keeps you close to the action without feeling intrusive. Shoot in aperture priority mode with a wide enough aperture (f/2.8–f/4) to isolate your subject from a busy background. Changing your vantage point to ground level or a high angle adds depth and storytelling power that eye-level shots rarely achieve.
4. Portrait And Environmental Portraiture
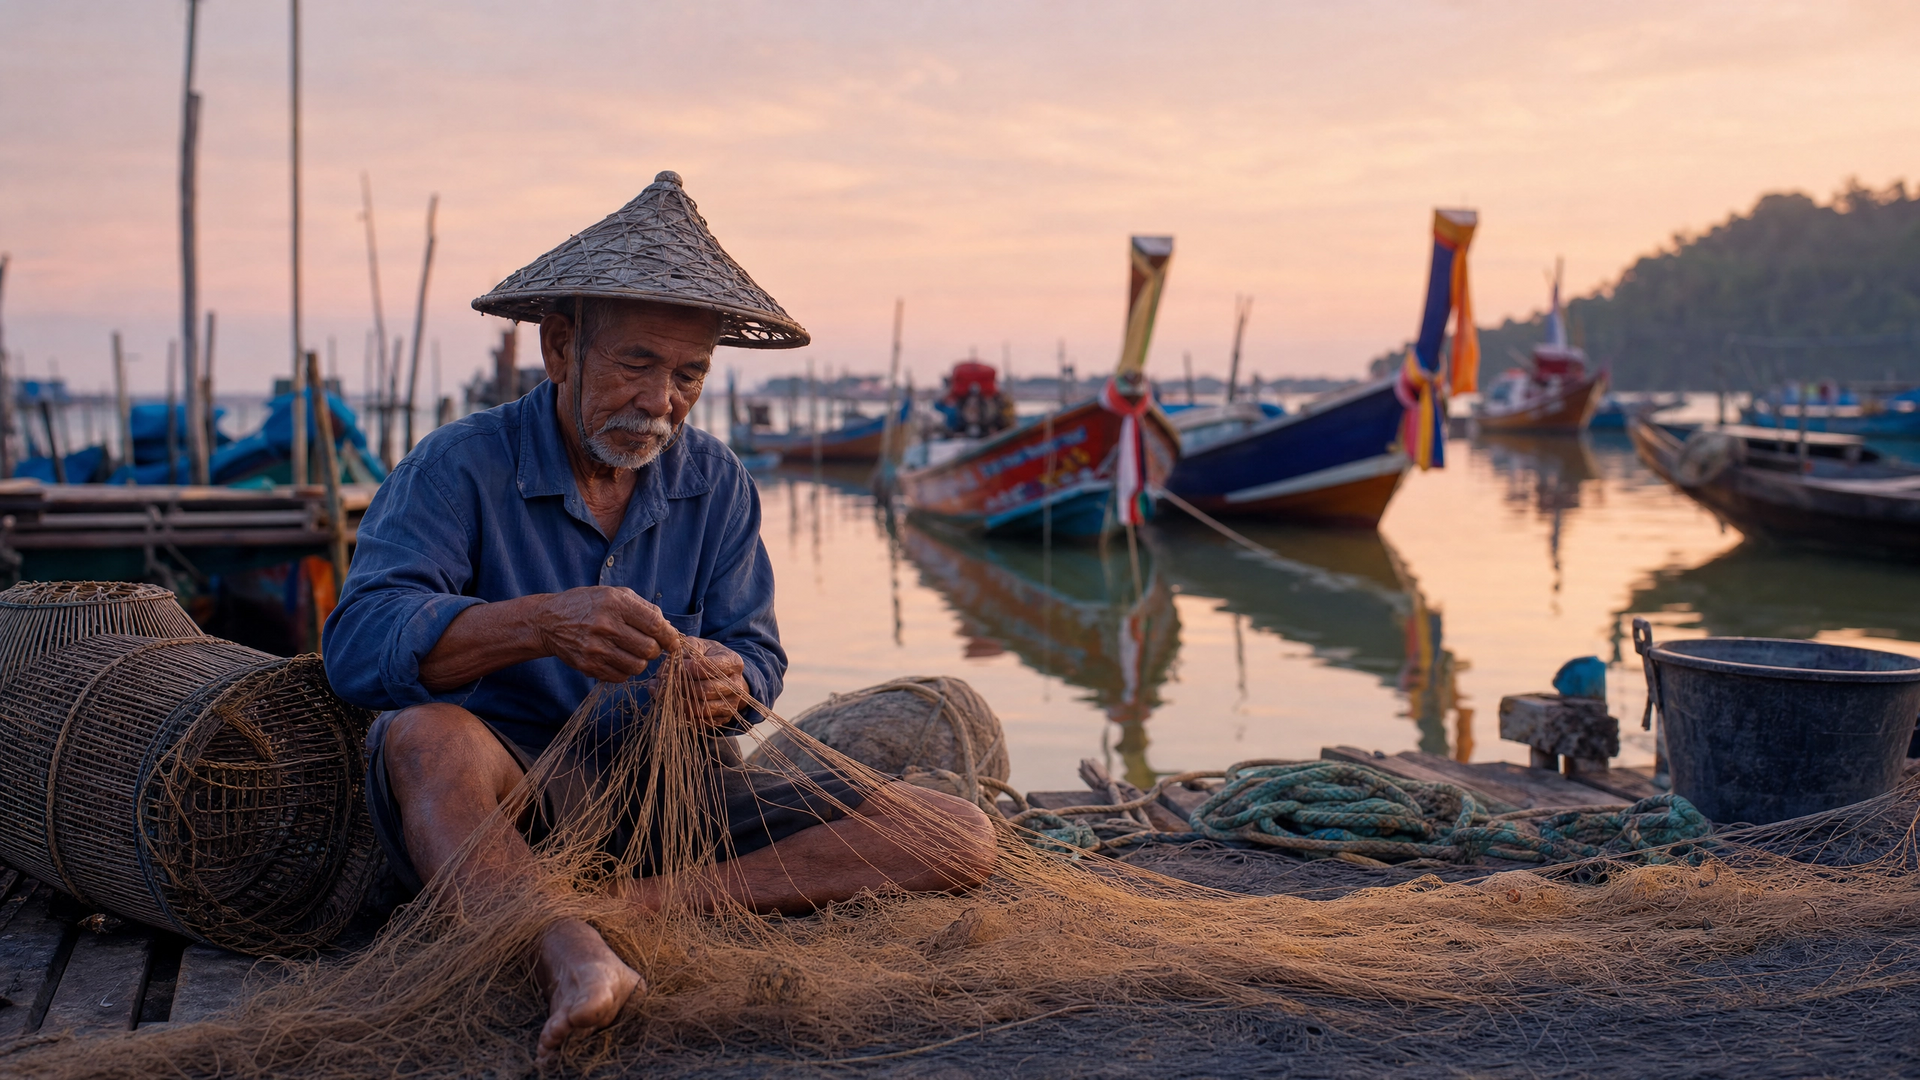
Portrait travel photography goes beyond a face. Environmental portraiture places a person within their cultural context, so the background becomes part of the story. A fisherman mending nets at dawn, a monk walking through temple grounds, a market vendor surrounded by spices. The environment explains who they are without a single word of caption.
Getting genuine expressions requires patience and respect. Learn a few words in the local language. Spend time with people before raising your camera. The connection you build in five minutes of conversation shows up directly in the final image.
5. Documentary Travel Photography
Documentary photography is the most demanding of all the styles of travel photography. It requires you to observe without interfering, to capture truth without staging it. Think of it as photojournalism applied to travel. You’re building a visual essay about a place, a community, or a cultural practice.
Detail shots add necessary depth to convey a sense of place beyond grand landscapes. A close-up of worn prayer beads, a child’s hand holding a street food skewer, a faded sign above a doorway. These details complete the story that wide establishing shots start.
6. Wildlife And Adventure Photography Styles
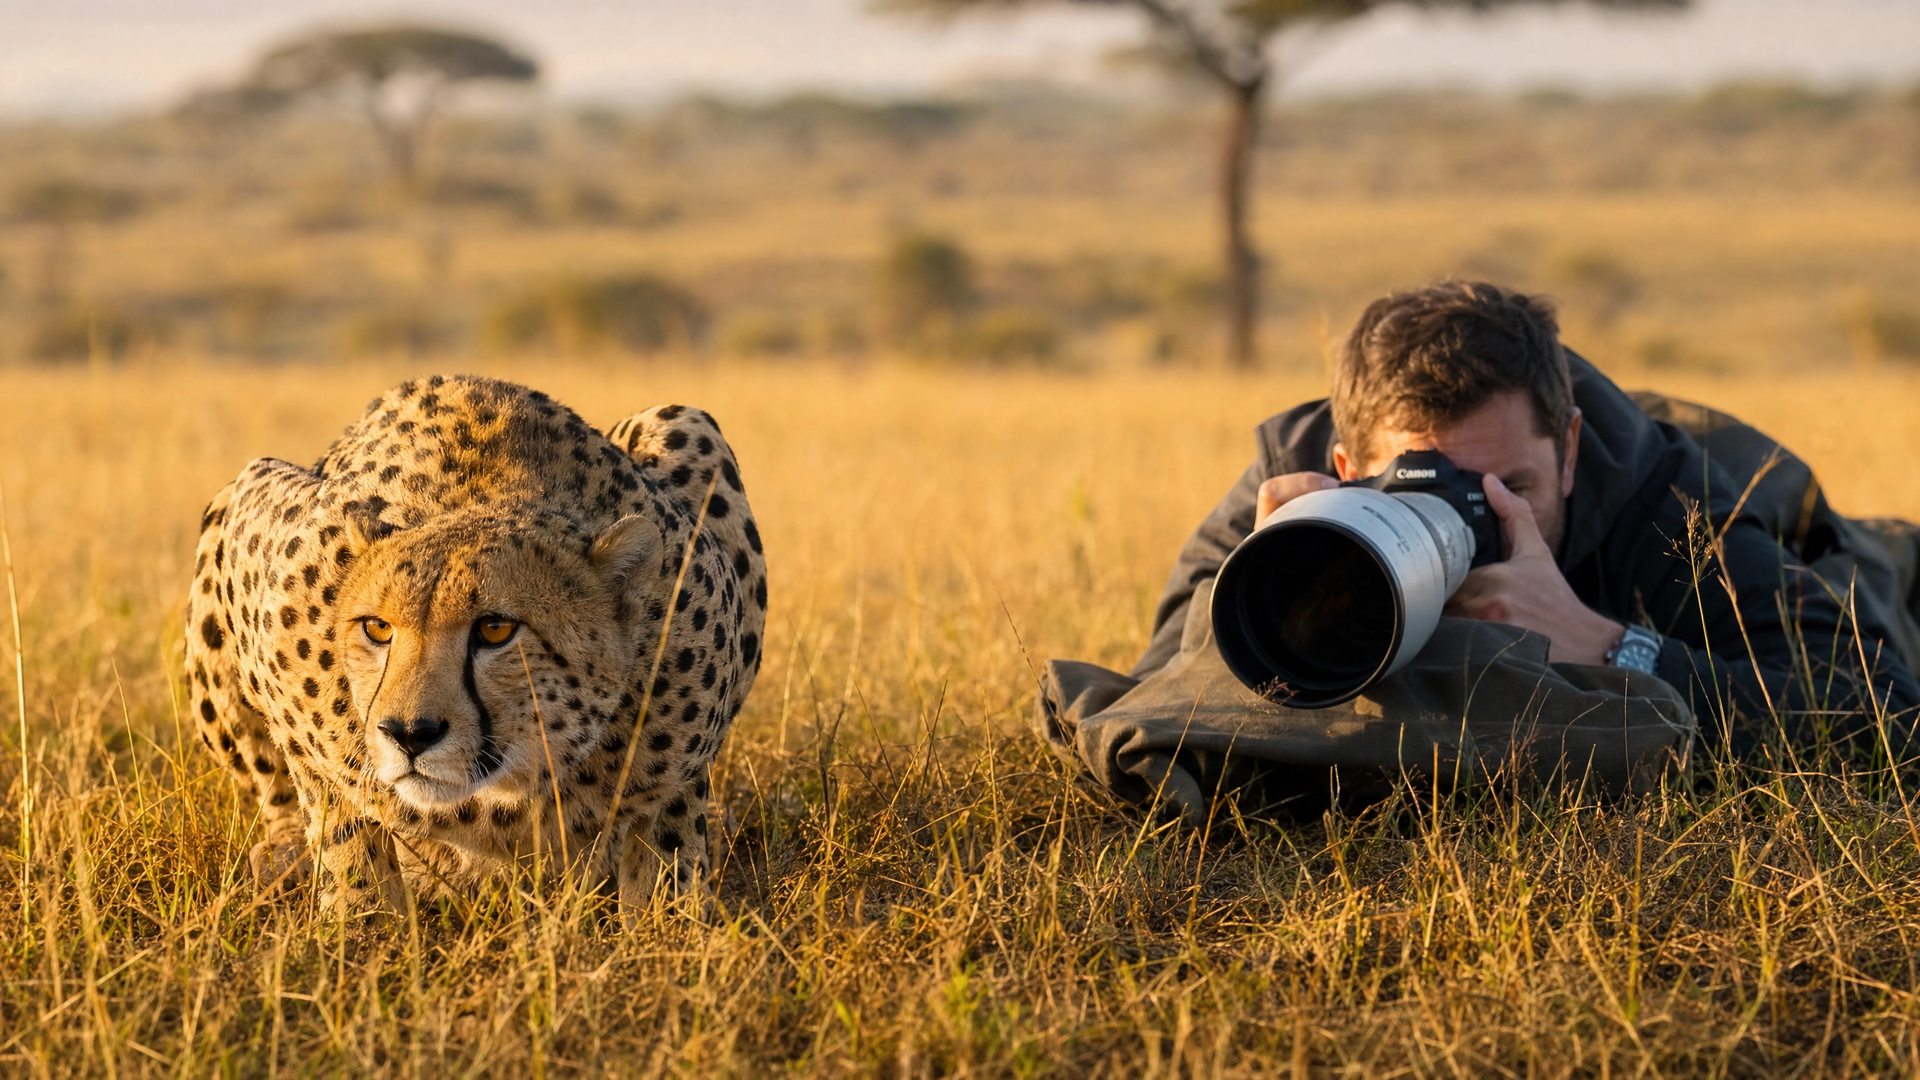
Wildlife photography rewards patience above all else. You can’t direct an animal, so you have to anticipate behavior and be ready before the moment happens. A telephoto lens in the 70–200mm range (or longer for safari work) keeps you at a safe distance while filling the frame. Fast shutter speeds of 1/1000s or higher freeze motion cleanly.
Adventure photography styles overlap heavily with wildlife work. Both demand physical effort, remote locations, and a willingness to get uncomfortable. Whether you’re photographing a surfer at Pipeline or a climber on a granite face, the energy of the scene has to come through in the image. Shoot in burst mode and sort later.
7. Food Photography On The Road
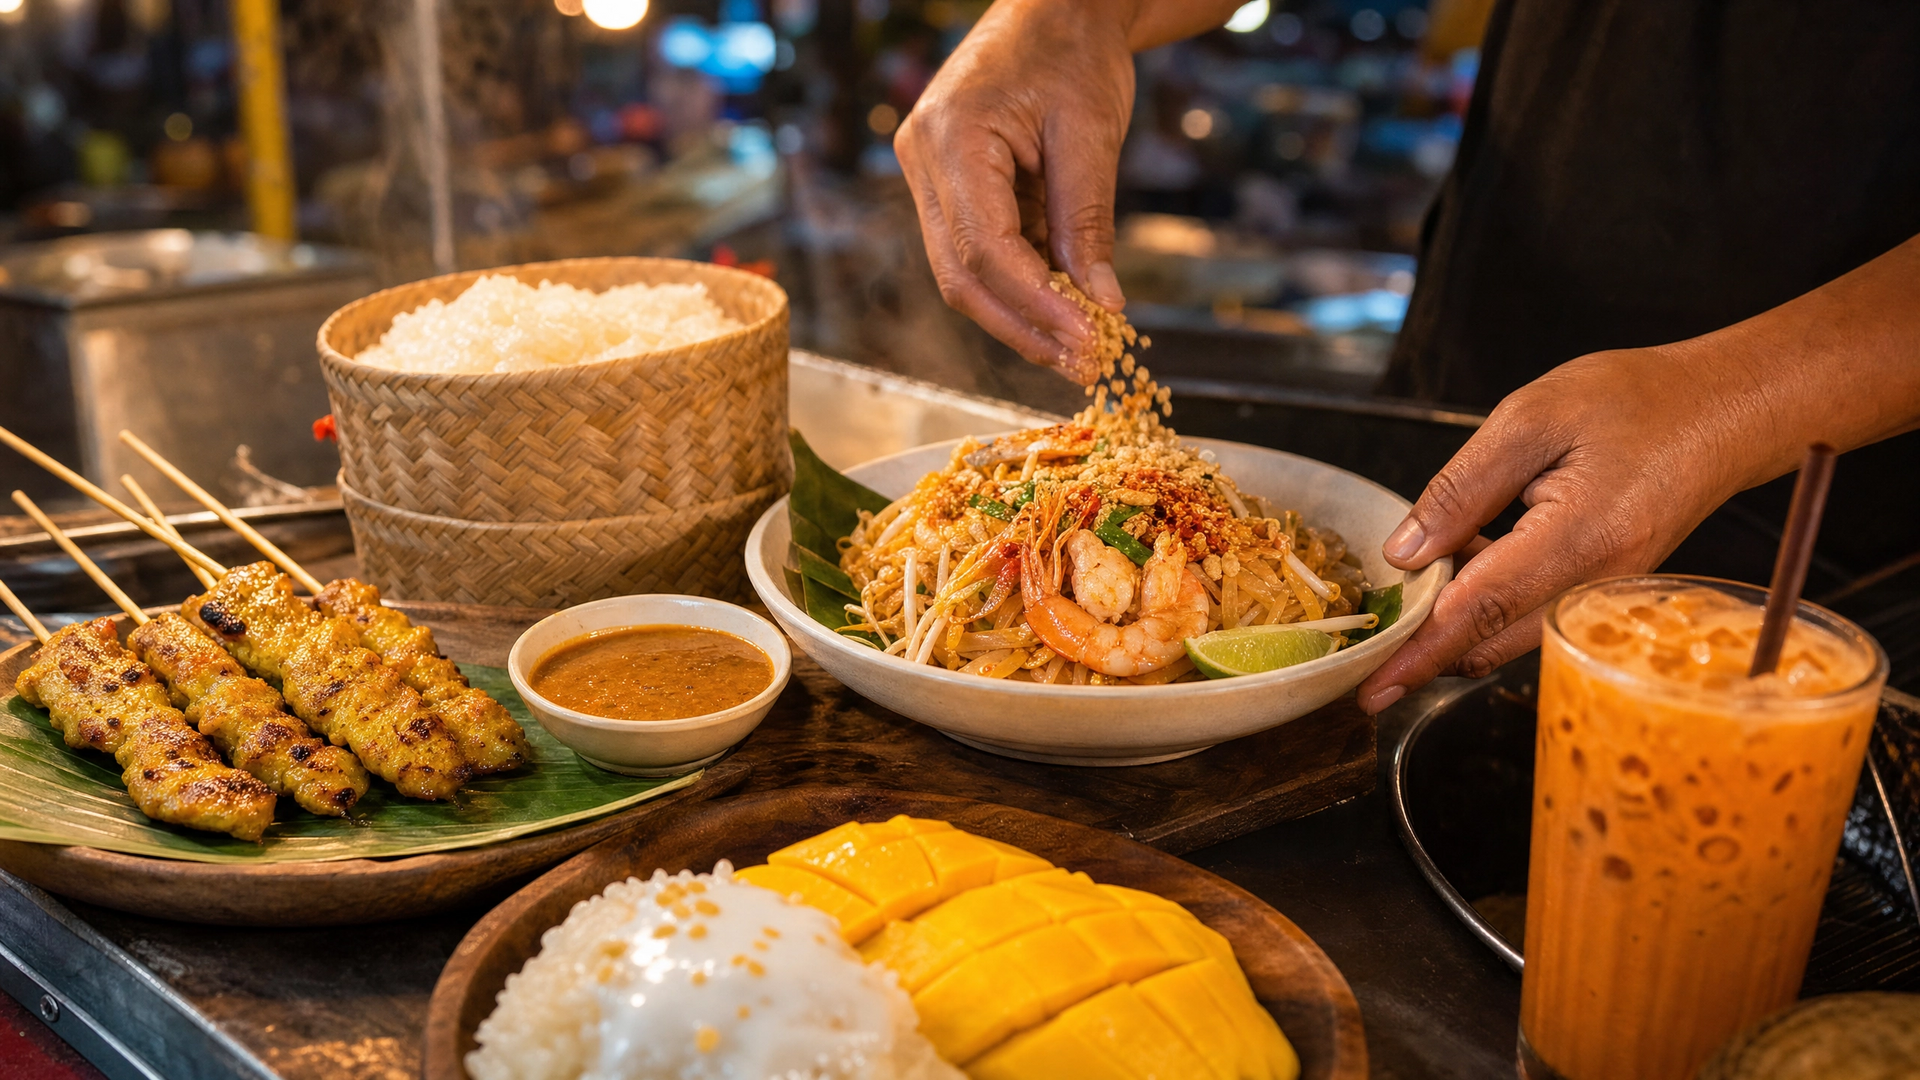
Food photography is one of the most underrated travel photography techniques. A destination’s cuisine is a direct window into its culture, history, and geography. Street food markets in Bangkok, a wood-fired pizza in Naples, a bowl of pho in Hanoi. Each dish tells you something a landscape shot never could.
Natural light from a window or open-air setting works best. Avoid flash at all costs. Get close, shoot from slightly above or at a 45-degree angle, and look for textures, steam, and color contrast. A 50mm or 85mm prime lens gives you flattering compression without distortion.
8. Architectural Travel Photography
Architecture photography captures the built environment as a reflection of culture, history, and ambition. Cathedrals, mosques, brutalist apartment blocks, colonial-era train stations. Every structure has a story. The challenge is finding a fresh angle on a building that’s been photographed thousands of times before.
Apertures of f/5.6–f/8 keep interiors sharp without losing too much light. Shoot during blue hour when artificial interior lighting and the ambient sky balance naturally. A wide-angle lens in the 16–35mm range handles tight urban spaces well.
How to blend multiple styles on one trip
Mixing styles during a single trip creates richer storytelling and a more dynamic portfolio. Blending environmental portraits with landscapes and street shots increases both narrative depth and portfolio appeal. The key is planning your shooting rhythm around light conditions rather than locations.
A daily workflow of shooting hard light early morning or late afternoon, flat light midday, and backing up files nightly keeps you productive without burning out. Use midday flat light for street photography and food shots, where soft even light actually works in your favor. Save golden hour for landscapes and environmental portraits.
Pro Tip: Pack a small notebook and sketch a loose shot list the night before. Assign each style to a time block based on light. You’ll cover more ground and waste less time standing around wondering what to shoot next.
| Style Pairing | Why It Works |
|---|---|
| Landscape + Environmental Portrait | Grounds the person in the natural setting of the destination |
| Street + Documentary | Both rely on candid observation and build a cohesive visual narrative |
| Food + Architecture | Both capture cultural identity through man-made objects and spaces |
| Wildlife + Adventure | Share fast-action technique requirements and remote location logistics |
Gear and settings for different photography styles
The right gear makes switching between styles faster and less stressful. You don’t need a separate kit for each style. A few versatile choices cover most situations.
- Wide-angle zoom (16–35mm): Landscapes, architecture, and environmental portraits in tight spaces
- Standard zoom (24–70mm): The most flexible travel lens, covering street, food, and casual portraits
- Telephoto (70–200mm): Wildlife, adventure action, and compressed environmental portraits
- 35mm or 50mm prime: Street photography and food, where you want speed and low-light performance
- Tripod: Non-negotiable for landscape and architecture work at dawn and dusk
- Polarizing filter: Cuts glare on water and glass, deepens skies in landscape shots
Smartphone cameras now handle street and food photography well in good light. If you’re just starting out, don’t wait until you have a full kit. Start with what you have and focus on composition over gear upgrades. Technique carries more weight than sensor size in most travel situations.
Pro Tip: Set up two or three custom camera modes on your body before a trip. Assign one to landscape settings (low ISO, small aperture, tripod-ready), one to street settings (auto ISO, fast shutter, aperture priority), and one to wildlife (burst mode, high shutter speed). Switching between styles becomes a one-dial move instead of a full menu dig.
Composition techniques that work across every style
Mastering composition is more impactful than upgrading gear. These techniques apply across every travel photography style and cost nothing to use.
Do:
- Use leading lines (roads, rivers, fences) to pull the viewer’s eye into the frame
- Layer foreground, midground, and background elements for depth
- Shoot from ground level or above eye level to find angles others miss
- Use natural frames like doorways, arches, and tree branches to isolate your subject
- Leave negative space around a subject to convey scale or solitude
Don’t:
- Center every subject out of habit. Off-center placement creates tension and movement.
- Ignore the background. A distracting element behind your subject kills an otherwise strong shot.
- Shoot only at eye level. Drop to your knees or climb a wall. The extra effort shows.
- Rush past detail shots. Textures, candid interactions, and everyday cultural objects create the depth that wide shots miss.
Lighting technique matters just as much as composition. Backlight your subject during golden hour for a warm rim-light effect. Use reflections in puddles or glass for layered, abstract compositions. Silhouettes work beautifully when the background is more interesting than the subject’s face.
Key takeaways
Mastering multiple travel photography styles, from landscape and street to documentary and wildlife, is the single most effective way to build a compelling and versatile travel portfolio.
| Point | Details |
|---|---|
| Style variety builds stronger portfolios | Proficiency in 5–7 styles is the standard for feature-level travel photography assignments. |
| Light timing drives quality | Shooting 30–60 minutes before sunrise yields crowd-free, uniquely lit scenes across multiple styles. |
| Composition beats gear | Layering, leading lines, and perspective shifts create stronger images than sensor upgrades alone. |
| Blend styles intentionally | Pairing landscapes with portraits and street shots tells a fuller, more authentic story of a destination. |
| Details complete the narrative | Close-up shots of textures, food, and cultural objects add depth that wide establishing shots cannot. |
What I’ve learned from shooting across every style
Honestly, the biggest shift in my own photography happened when I stopped identifying as “a landscape photographer” and started treating every trip as a chance to shoot everything. I used to walk past incredible street moments because I was locked into finding the perfect vista. That was a mistake I made for longer than I’d like to admit.
The trips that produced my best work were the ones where I had no rigid plan beyond a loose shot list and a commitment to staying curious. Iceland taught me that environmental portraits paired with dramatic landscapes create something neither style achieves alone. Asia showed me that street photography and documentary work are almost inseparable when you’re in a market at 6am and the light is doing something extraordinary.
The other thing I’d tell you is this: embrace the bad shots. Every style has a learning curve, and the only way through it is volume. Shoot more than you think you need. Review honestly. Adjust and go again. The photographers I respect most are the ones who are still genuinely excited to try something new, even after years in the field. That curiosity is what keeps the work alive.
Take your travel photography further with Traveling Portrait
If you’re ready to put these styles into practice, Traveling Portrait has the resources to help you do it well. From destination galleries that show how different styles come together in real locations to hands-on workshops built around the techniques covered here, there’s a lot to dig into.
Check out the photography workshop to get structured, practical training across multiple travel photography styles. If you want visual inspiration first, browse the destination galleries to see how landscape, street, portrait, and documentary styles blend across locations worldwide. Whether you’re planning your first serious trip or your fiftieth, Travelingportrait is built to help you come home with images you’re genuinely proud of.
FAQ
What are the main types of travel photography styles?
The main types include landscape, street, portrait, documentary, wildlife, food, and architectural photography. Most professional travel photographers work across at least five of these styles on any given assignment.
Which travel photography style is best for beginners?
Landscape and street photography are the most accessible starting points. Both require minimal gear and reward observation skills over technical complexity.
How do I choose the right lens for different travel styles?
A 24–70mm zoom covers most travel situations, while a 16–35mm handles landscapes and architecture and a 70–200mm suits wildlife and adventure work. A 35mm or 50mm prime is the best single-lens choice for street and food photography.
Can I blend multiple photography styles on one trip?
Yes, and you should. Pairing environmental portraits with landscapes and street scenes creates a fuller, more authentic story of a destination and significantly strengthens your portfolio.
Do i need expensive gear to shoot different travel photography styles?
No. Mastering composition techniques like leading lines, layering, and perspective shifts produces stronger images than gear upgrades alone. Smartphones handle street and food photography well in good light.
Recommended
Other Posts You Might Like